How I Solved My Afternoon Sun Glare with IKEA and Zigbee
My bedroom faces to the West. As with most McMansions in the United States, the architect had absolutely no consideration for the angles of the sun in each room throughout the day. In fact, the architect wasn’t even involved in building this house, the plans were purchased as a set. As a result, I get blasted in the mid afternoon summer sun, greatly raising the temperature in my room and causing far too much screen glare for my taste. My solution to this is to cover my windows with motorized roller blinds.
IKEA To The Rescue⌗
As with all things in interior decorating and the finest Swedish meatballs, my very first place to look is IKEA. IKEA has actually come out with some low-cost home automation products based on Zigbee, their TRÅDFRI line, which indludes a Zigbee gateway, app, low cost Zigbee smart buttons, motion sensors, light bulbs, etc… and of course their FYRTUR motorized roller blinds!
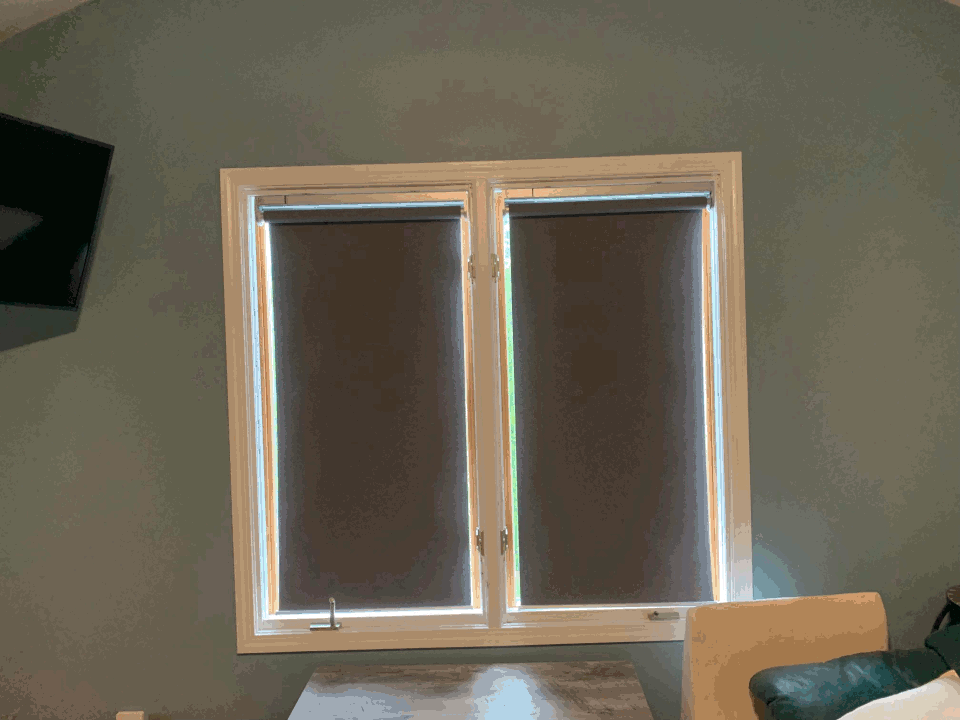
Without much information at all on these, but knowing they came in a complete kit (including a repeater/controller and pre-paired button), and they look pretty decent as far as blinds go, I bought a pair of them for my two windows. They only came in 2" width increments, and all come with a ton of height (which you can adjust to the exact window height during setup). After mounting it in my windows, they come pretty close to completely covering the glass, but it’s good enough.

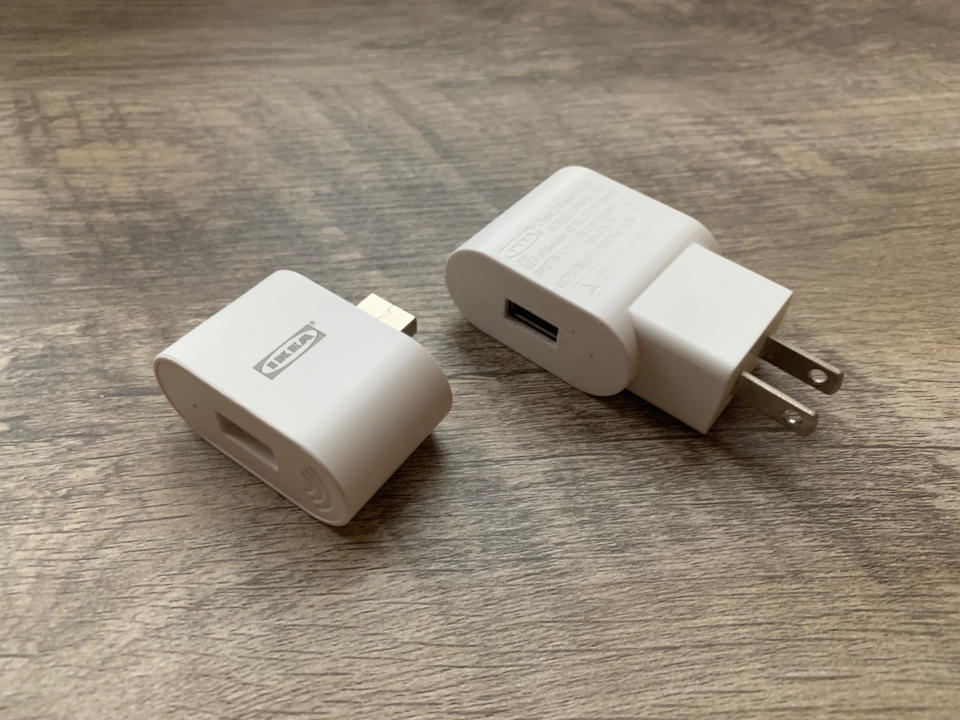
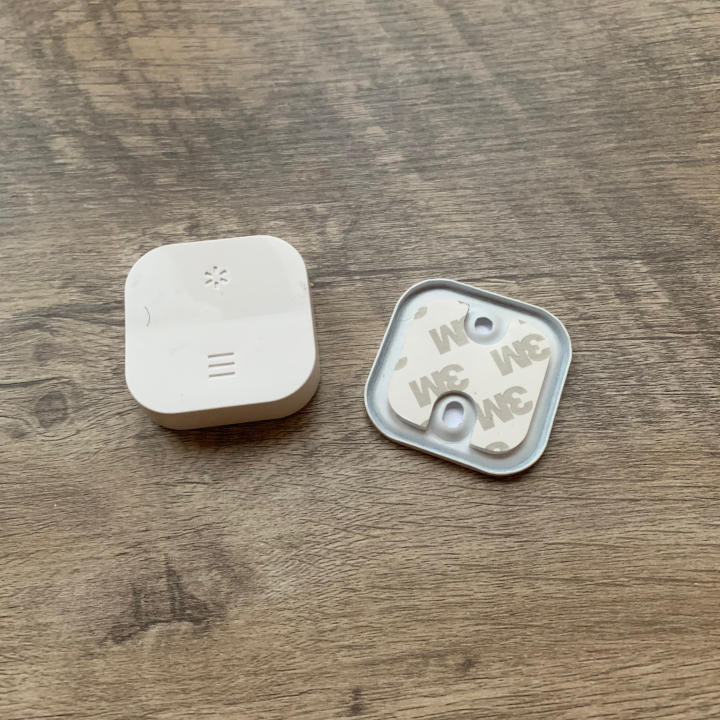
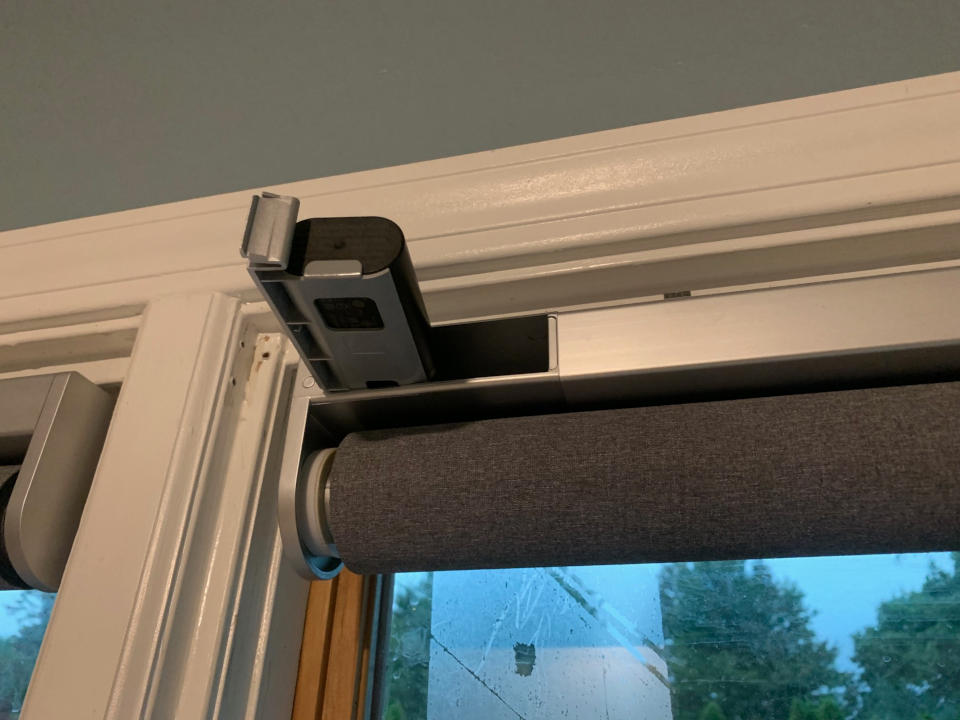
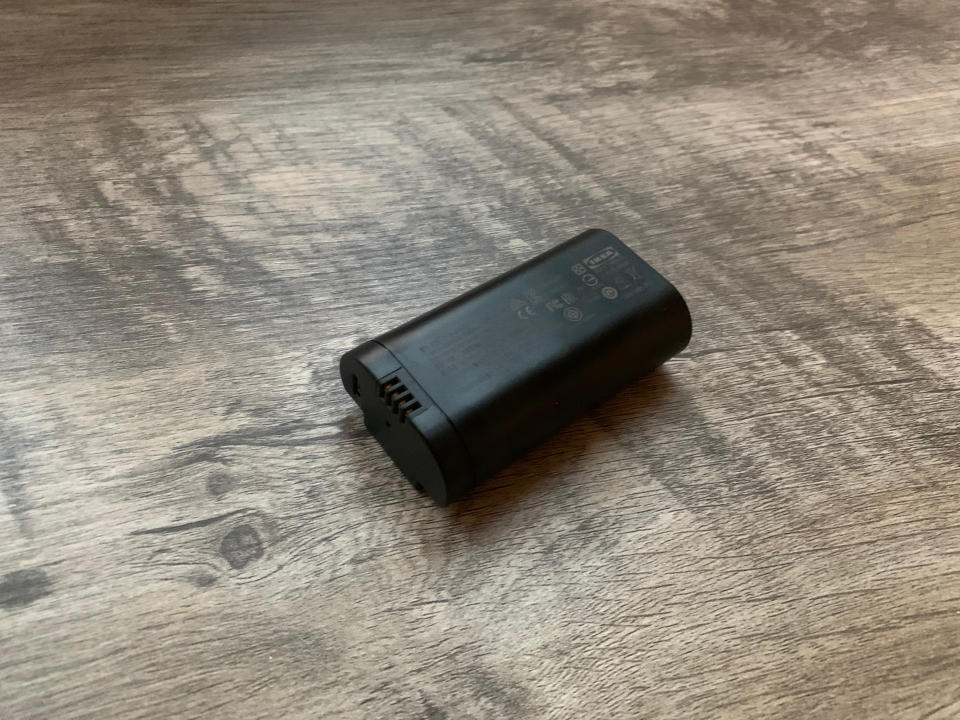
The FYRTUR motorized roller blinds come with a right angle USB power supply, a Zigbee controller/repeater with a USB power passthrough, a battery pack with micro-USB input, a micro USB cord to connect to the passthrough on the repeater and charge the battery pack, and a two button battery powered Zigbee remote.
Living with Manual Control⌗
Since the blinds come pre-paired, I just needed to power the included Zigbee controller and the included button would work with the blinds. Since the controller has a USB in and out, I could stack them all up on the same USB power supply. It’s possible to pair multiple blinds with a single controller and button without their hub, but I left them as-is and had a separate button for my left and right blind. This is honestly a pretty adequate way to use these roller blinds, with the buttons on my nightstand next to my bed.
How Long does the Battery Last?⌗
The battery is an 18 Ah Li-Ion pack with integrated charger with a micro-USB port for charging. The battery is charged by removing it from the blinds and plugging it in to any micro USB charger. I’ve been using these for about 6 months and the batteries haven’t died yet. I will update this page when I get better battery voltage tracking.
Starting my first Zigbee network⌗
To better automate these blinds based on weather and time of day, I sought to integrate them with the Home Assistant system I’ve been playing with for a bit. I decided to run a Zigbee2MQTT system, and bought a Texas Instruments CC2531 based Zigbee controller pre-flashed to work with Zigbee2MQTT. Read more on the Z2M page about supported adapters. When I selected the CC2531, it was noted as having a poor antenna and not recommended for large networks, but there weren’t many options listed on the Z2M site. Over the past year, Z2M have added a lot more options for Zigbee USB sticks, and I’d recommend you read their updated page before selecting one. I’ve certainly noticed that the CC2531 has terrible link quality.
Despite the poor link quality, I paired both of the included IKEA controllers as repeaters to my Z2M network, placing one on the first floor and one in the laundry room (the same room where the Z2M raspberry pi is located, but on the other side of the room). By pairing as many devices as possible through these two repeaters, I’ve gotten much better signal strength than pairing directly to the controller.
I paired all of the IKEA hardware (both buttons, both blinds, both repeaters) individually, and removed all associations in the Zigbee network. I also connected Z2M to my MQTT broker. This paved the way for Home Assistant to manage the show.
Roller Blind Automation with Home Assistant⌗
I setup Home Assistant on my Minilab, connecting it to my MQTT broker on Telstar. Enabling MQTT Discovery in Z2M was very easy, and the devices showed up quickly in Home Assistant. I renamed them all to make sense, and set the location so I can use Area based automations.
My first two automations run when the up and down button are pressed on one of the Zigbee remotes. This directly commands the blinds to open and close. This restores the functionality that I had previously, but using only one remote for both blinds.
My first real automation opens the blinds automatically at sunset. This ensures that I can wake up naturally with the sun, as previously I would accidentally leave the blinds closed at night and not wake up with the sun as I prefer. After that, I started experimenting with automation rules that close the blinds in the afternoon depending on the weather. As I improve the sensor suite the automation system has access to, I hope to base the blind automation based on UV Index instead of just ‘sunny’ or ‘partly cloudy’.
I always hate how most people consider ‘smart’ devices as having app control, but no real automation ability. I didn’t even consider the Home Assistant app until many weeks of tweaking the automation rules so the system works for me. I already had a wireless remote I could have used, so why should I use an app instead? My goal is to open the app as infrequently as possible, and take the time upfront to integrate everything properly so it just works as I expect. This project was pretty simple in that regard, but I’m sure I’ll expand my usage of Home Assistant in the future with much more complex automations.
The Project Files and Parts List⌗
Here are all of the files and parts required to replicate this project.
- IKEA FYRTUR Zigbee Roller Blinds
- Zigbee2MQTT Supported Adapter
- Raspberry Pi (I used a Raspberrry Pi 2 Model B since it was already in the laundry room, but you really should use an ARMv8 64-bit version 3/3+/4).