First (mis)Steps in Bathroom Automation
I’d already had a start in Home Automation with my IKEA Blinds Project and Z-Wave with my Bedroom Lighting, so I was ready for something more advanced. Little did I know that automating a bathroom light and fan switch would require so much logic to avoid being stuck in the dark in the shower at night, and all the other corner cases that come up when you try to implement real automation logic instead of ‘smart home’ party tricks. I also had to deal with an existing bathroom exhaust fan + light that didn’t have separate wiring to control the fan and light, requiring some special hardware.
The Magic Fan + Light Dimmer⌗
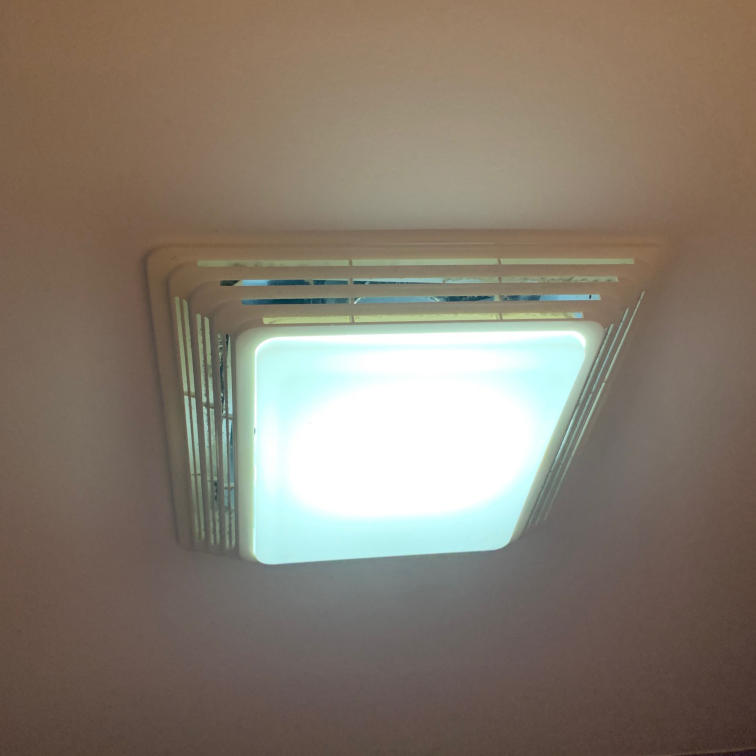
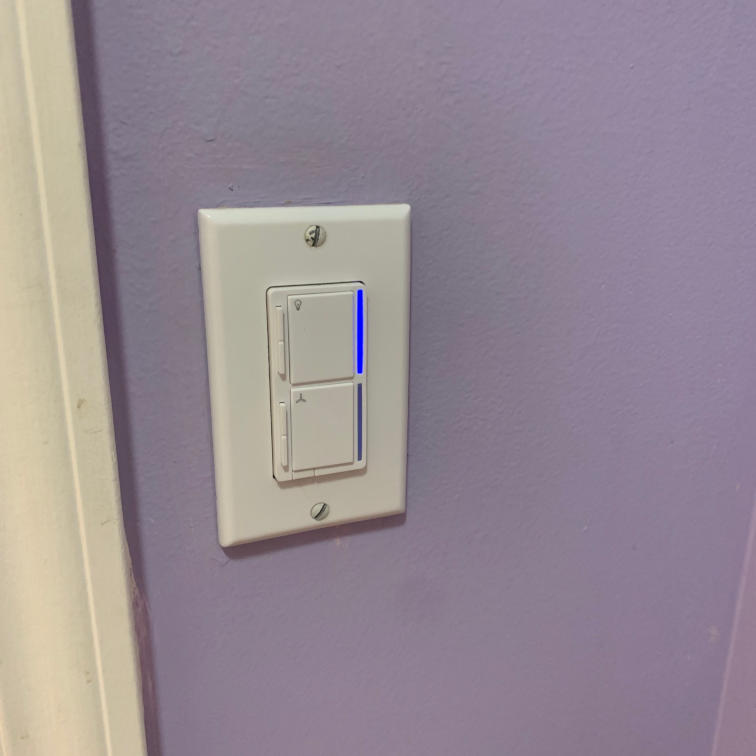
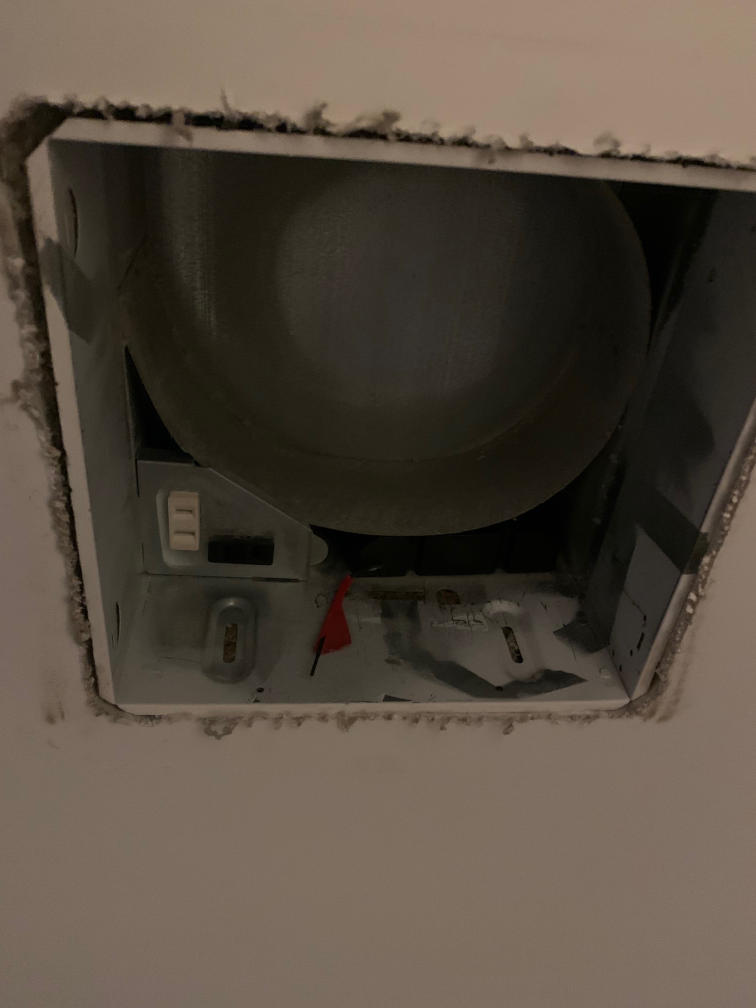
The existing fan + light had a single power wire (line + neutral) to a single wall switch, which controlled both the fan and the light. This was not ideal, since I’d often leave the light off at night since the fan was so loud, and I can’t use a light dimmer because it would also attempt to dim the fan. I really wanted the light to dim automatically at light, and to turn the fan on and off automatically with humidity due to the shower, so I needed separate control of the fan and light, but I didn’t have the wiring in the wall to accomodate a wall switch and wall dimmer. I was luckliy able to snag a few of the Inovelli Red Series Fan + Light Switch (LZW36), which uses a single-gang space for the wall switch with both a fan and light dimmer, and a RF remote ‘canopy module’ designed to mount on top of a ceiling fan, but controlling the power up at the fan instead of in the switch itself. I took the motor section out of the fan+light, revealing the wiring area and fan duct, wired the canopy module into the wiring area, and tucked it in next to the fan duct. It was an extremely tight fit, and there was basically no wire length for access, so I was very thankful to have Wago push connectors instead of wire nuts. I managed to fit the canopy module in there, and wrapped the black antenna wire in red electrical tape to prevent it from getting damaged when I re-installed the metal fan.
Sensor Module⌗
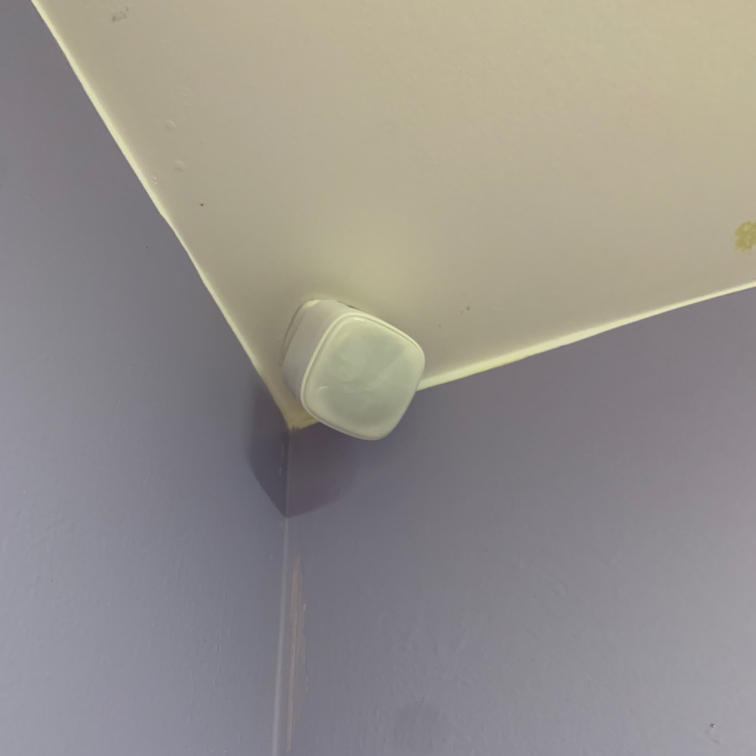
I could have looked for separate temperature+humidity and motion sensor modules, but I wanted to try out the Inovelli 4-in-1 Motion Sensor (LZW60), which includes motion, light, temperature, and humidity. I think I could do better on cost in the future by going with Zigbee sensors, but the Inovelli sensor has an absolute ton of configuration ability (parameters like motion reset time, sensor reporting interval, etc.) whereas none of the Zigbee sensors I have can be configured at all.
First Pass at Logic⌗
First, I setup an Automation in Home Assistant using the Motion Controlled Lights blueprint that’s built in. I matched up the motion sensor entity with the light entity, and set the time I wanted (4 minutes, minus the 30 seconds built in to the sensor). This functioned, and there was much rejoicing!
Second, I setup an Automation in Home Assistant for the fan humidity control. I used Numeric State trigger, so when the humidity goes above 69%, it will trigger. It turns on the fan, then waits for another Numeric State trigger, for the humidity to go below 66%. I turned the shower on, waited for the fan to come on, turned the shower off, and waited for the fan to turn off automatically, and there was much rejoicing!
After a day of playing with this, I quickly found a bunch of issues with this very basic automation:
- The motion sensing light turns off when you’re in the shower, and you’re left in the dark. What a bummer.
- It takes a really, really long time for the humidity to come back down after a long shower. Ideally we could keep the fan on until it does go back down, but there’s just too much moisture in the air and the fan is too in effective at venting. I might have to tolerate a higher turn-off humidity, turn the fan on sooner, or something like that, but I need to do something so the fan doesn’t run for hours.
- I’d like the light to be dimmer at night, and not so darn bright when I’m barely awake trying to use the bathroom.
- Sometimes, people push the up/down buttons on the face of the dimmer and that messes up the level the dimmer returns to when it turns on/off.
Second Pass at Logic⌗
After learning from the basic fan and light automations over a few days, I realized that they still weren’t that great and I could improve.
First, I quicly setup the dimmer to always return to a set level when turned on, instead of the last value. I also added this default brightness parameter to my sunrise/sundown automations (parameter 12 for local control and 13 for Z-wave control), seting the night value to 11% and the day value to 100%, similar to my bedroom lighting. I also set the fan to not be dimmable at all (minimum dim level 3), so it will either be on or off. Being an exhaust fan, it already doesn’t move a ton of air, and going down to lower dim levels makes it basically useless.
Second, I set a timeout of 35 minutes on the fan automation, so it will turn the fan off no more than 35 minutes after it goes on. For a quick shower it should turn off in about 20 minutes, but some people take excessively long showers, and the fan just cna’t remove the moisture in any amount of time without opening the doors and ventilating the room.
Third, I added logic to the fan automation to override the light. It now follows this sequence of events
- Trigger when humidity rises above 69%
- Turn the fan on
- Turn off the bathroom light motion automation, without letting it continue running any subsequent events
- Turn on the bathroom light and set the brightness to 100% (even at night, you probably want light in the shower)
- Wait for the humidity to fall below 66%, or 35 minutes
- Turn the fan off
- Turn the bathroom light motion automation back on
- Turn the light back off
I then lived with this automation for a few more days, and there was again much rejoicing. However, I did find one corner case where I restarted Home Assistant while the automation was in its 35 minute fan cycle, and the automation ended without finishing, leaving the motion sensing lights disabled and the fan running.
As of the writing of this, I still have a few lingering issues that I might try to resolve with a more complex automation, or possibly by implementing it differently:
- Even if the fan and light are turned off manually, the motion sensing lights will remain disabled until the fan would have automatically turned off. They should go back to automatic if the lights are manually turned off, but should not turn on until motion is re-detected (i.e. should not turn on because someone was in the room in the last 30s, as they obviously turned the lights off for a reason)
- If the fan is turned off manually, but not the lights, the lights should stay on but revert to motion control.
Manual Backup⌗
After all the work on automation, I still struggled with two unrelated issues:
- If you sit on the toilet too long, sometimes, the light turns back off. I played with the motion sensitivity and timeout to reduce the chance of this, but it’s still possible. Waving your hands can get the lights back on, but the position of the motion sensor isn’t perfect.
- Since the fan no longer comes on automatically with the light (they used to be physically tied together), and sometimes you wished you turned it on when you’re already on the toilet.
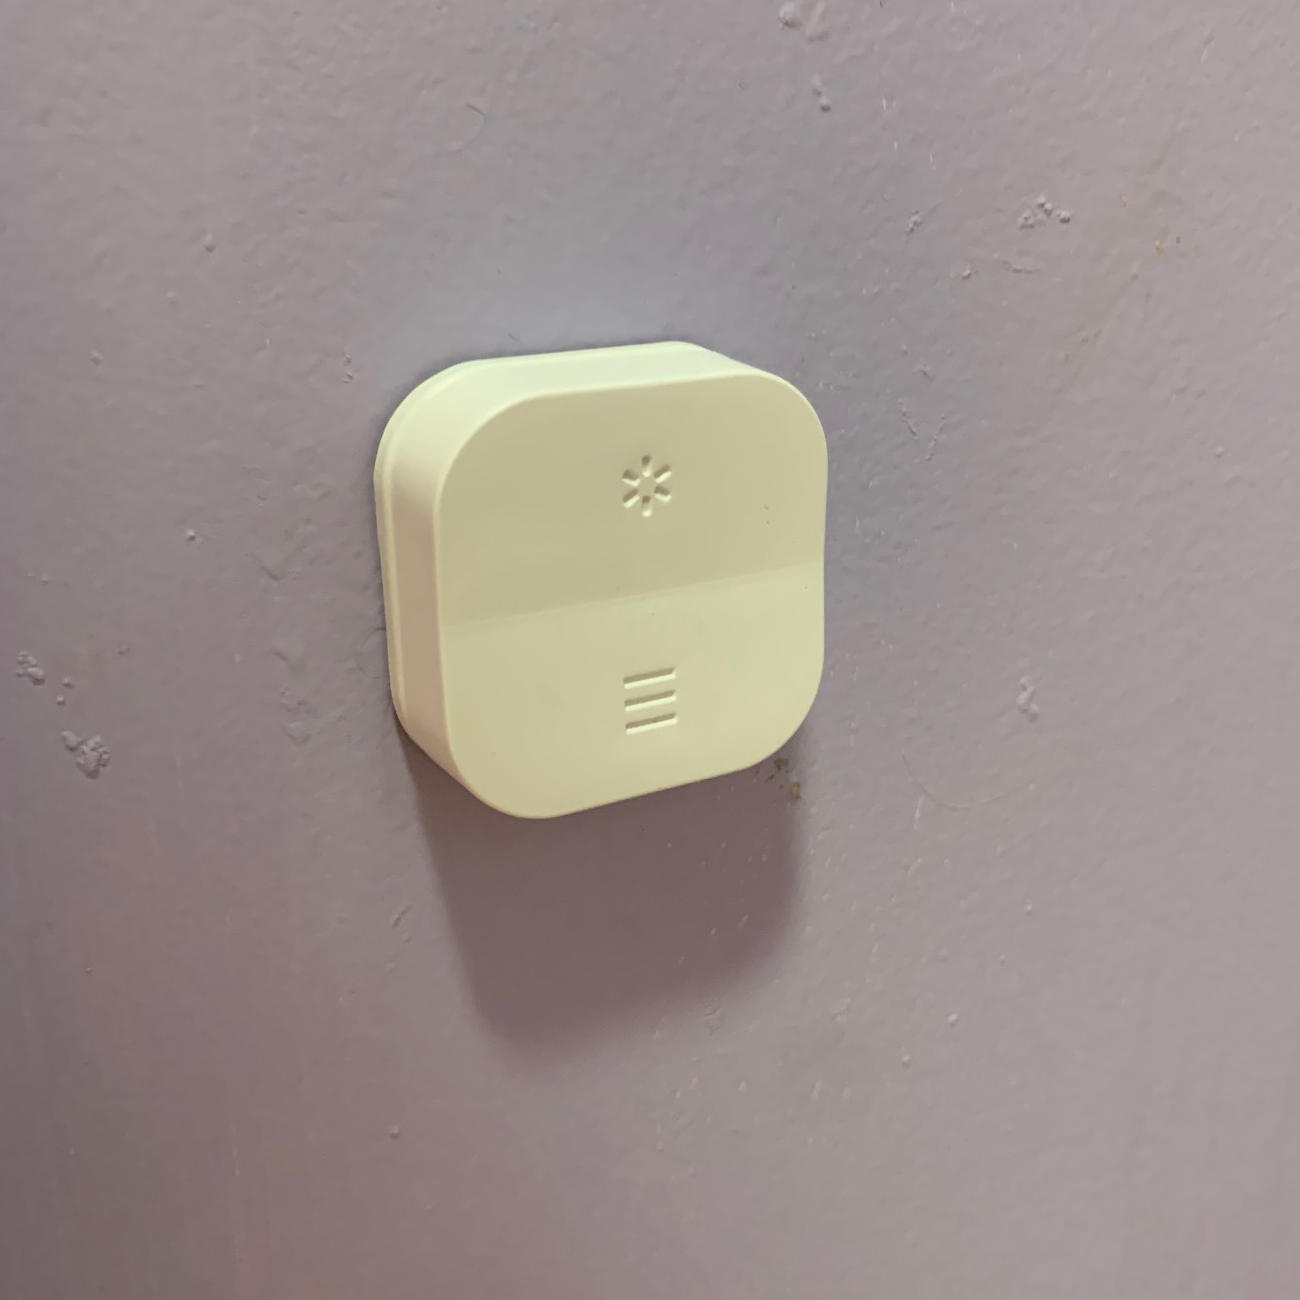
I could have done more work on the automation to fix these issues, but for issue #2 specifically, I just didn’t have a good way to automate the fan. So, I went with the easy way out - I added a pushbutton next to the toilet so you can toggle the fan and light from the toilet. I used one of the two double pushbuttons that came with my IKEA Blinds, and setup an automation to toggle the light in response to the top button and toggle the fan in response to the bottom button.
The Project Files and Parts List⌗
Here are all of the files and parts required to replicate this project.