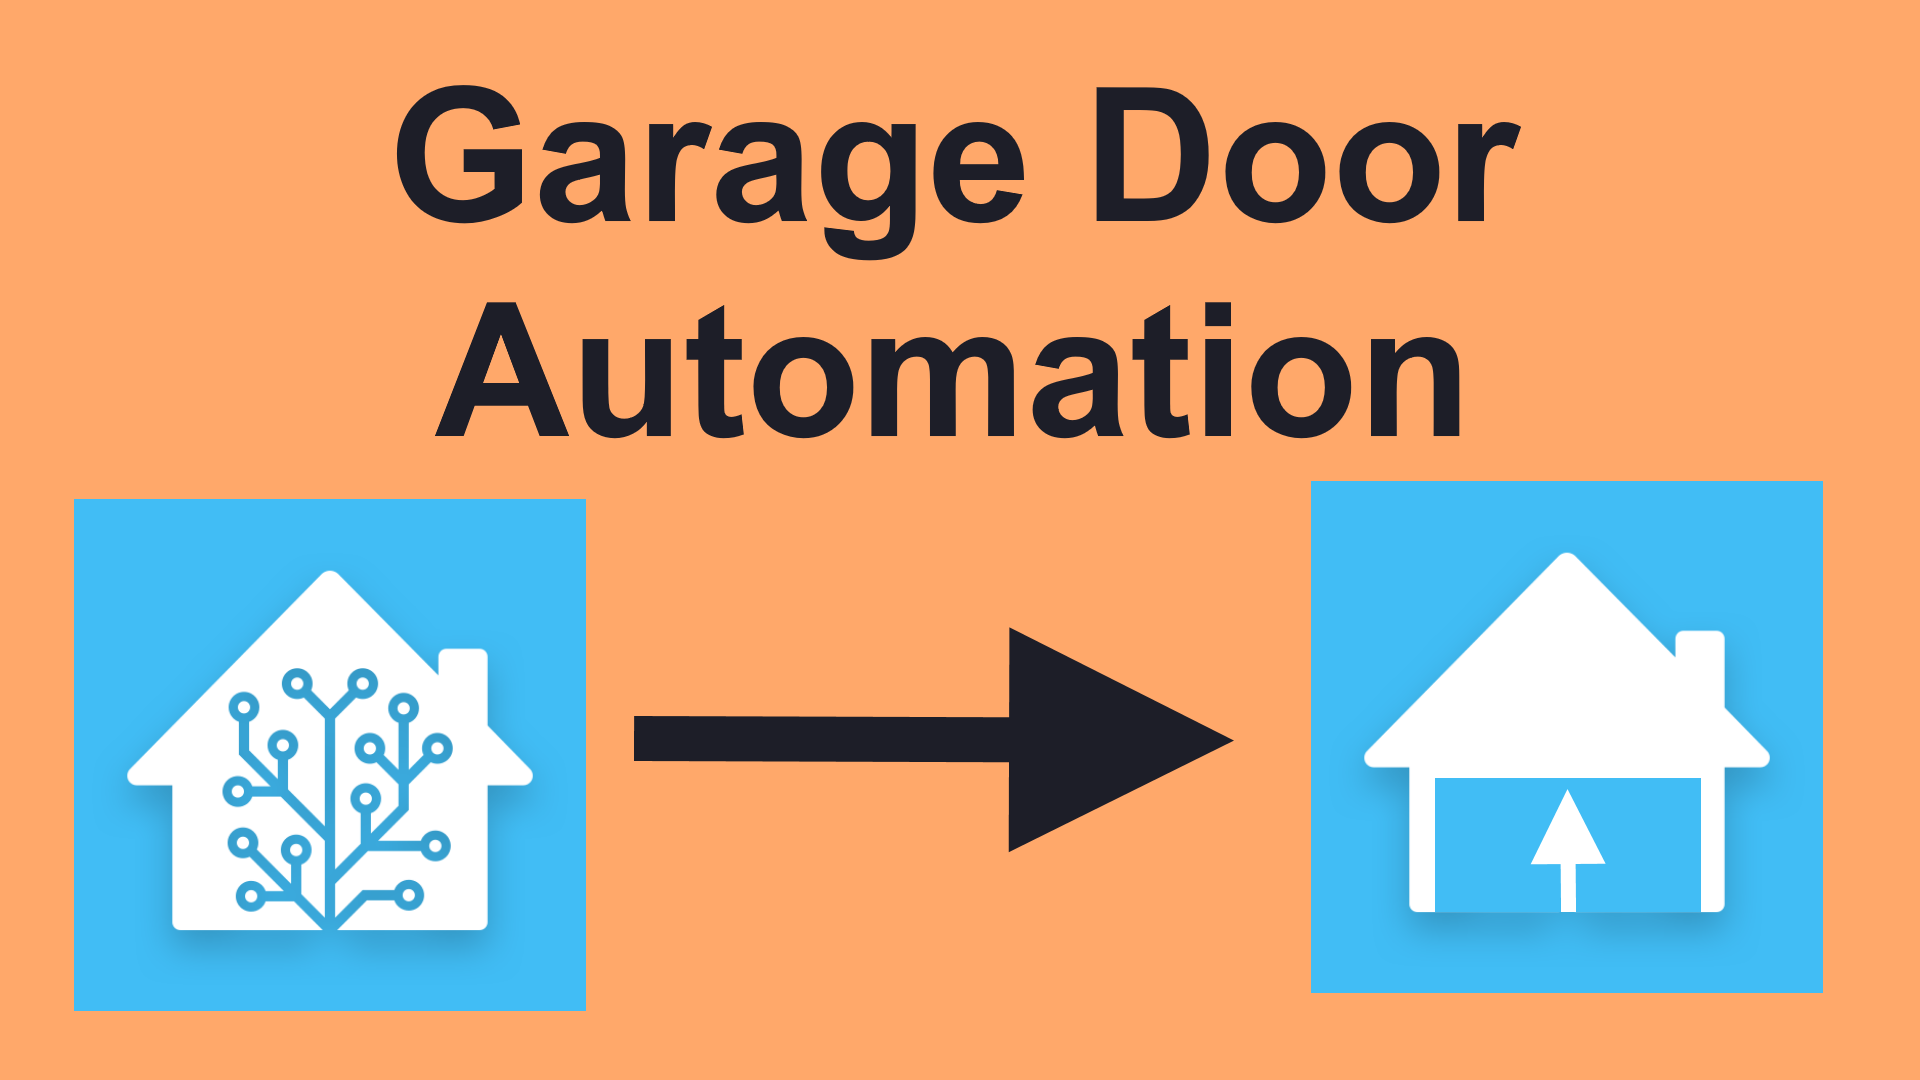
Low-Cost Garage Door Automation with Home Assistant and Sonoff
Of all of the doors in a normal US McMansion, the garage doors are the biggest, and are almost always motorized. This means they are an easy target for automation, since most of the hardware is already there, we just need to bridge it to the virtual space. The cheapest way to do this is to use a door contact switch and dry contact relay which are compatible with Home Assistant, and some YAML magic to bridge them together.
Contents⌗
This is a pretty long one, so here’s some links to different sections:
Video⌗
This article has a corresponding video! Watch it here
Sensing⌗
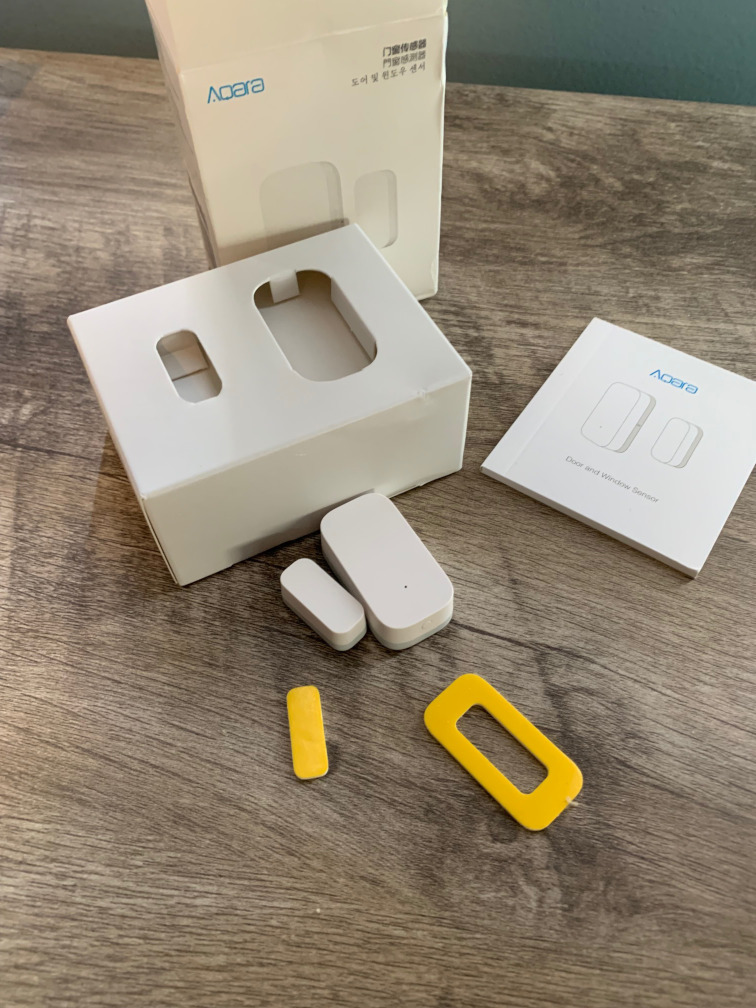
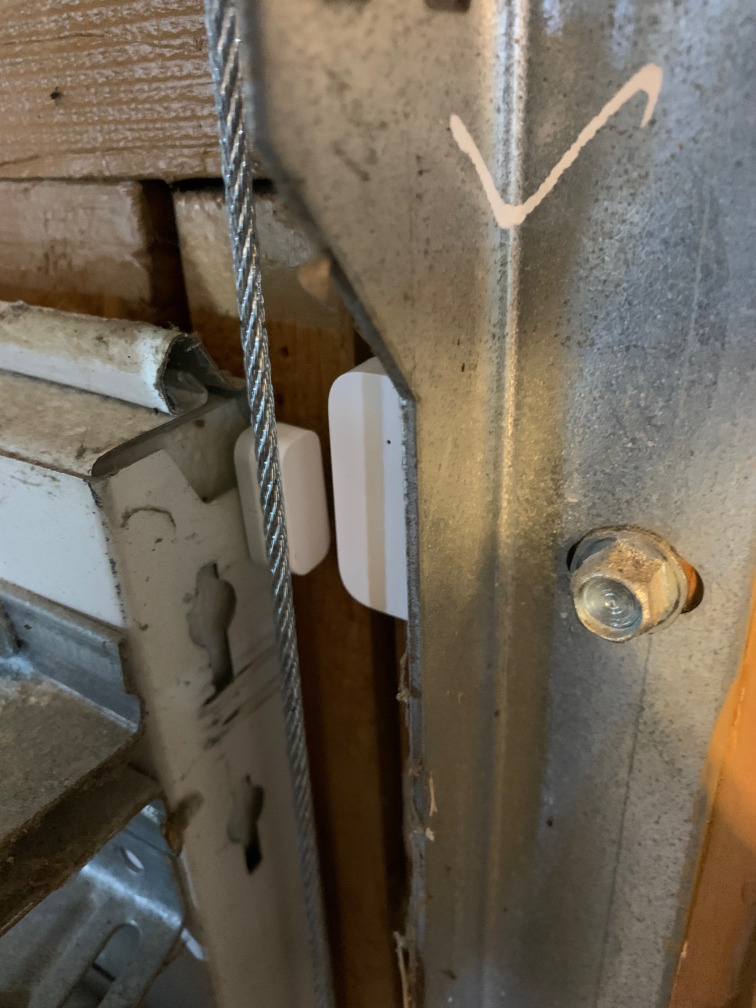
You can use regular magnetic door contacts with garage doors, but they also make more robust garage door contacts if you’re concerned with durability. I ended up using an Aqara Zigbee sensor, and I bought a pack of them for some other doors in the house. The are pretty functional for the cost. I attached them near the top corner of the garage door, and they can sense when the door is all the way closed. Make sure the magnet and sensor are close enough to each other, one of my 3 doors was not close enough and only intermittently detected the door as closed.
Control⌗
It’s critical for the Control side that you get a smart relay with a dry contact. A lot of smart relays are mains or DC powered, and output mains or DC from the relay. This won’t work for a garage door opener, where you need to bridge two contacts and not connect them to anything else. The Sonoff Mini will NOT work, but the Shelly 1 will, and also has a switch input if you want a wired door switch, so it’s a great option for a single door.
In my case, I have 3 doors to control. So, the Sonoff 4CH PRO R3 works for me for less cost total than the Shelly’s - it has 4 separate relays, each of which is electrically isolated from each other (only isolated on the PRO!). I flashed it with Tasmota (see my Tasmota Day for how), which gives me full control of the device with purely local integration over MQTT.
Once I had Tasmota flashed and the Sonoff connected to my network, it’s time to configure it. Start by finding the IP address (I look on my router’s DHCP leases for new Tasmota devices but Tasmotizer has a ‘Get IP’ button that works too), and connect to it over HTTP. The 4CH has four bit ‘ON’/‘OFF’ labels as well as 4 Toggle buttons, as well as the usual Tasmota configuration buttons. Click ‘Configuration’, then ‘Configure MQTT’, and enter the broker information. I don’t like how Tasmota pollutes the root namespace in MQTT with tele, cmnd, etc. so I change the default topic structure to be ‘raw/%topic%/%prefix%/, which ends up with a topic like raw/tasmota_123ABC/stat/POWER1. I set this structure for my Tasmota devices when I was newer to MQTT, but now I would have chosen ’tasmota/%topic%/%prefix%/’, so tasmota devices get their own folder in the namepace, followed by each individual device. This is more of a personal opinion on how to structure MQTT topics. Save configuration here, and it should restart automatically.
Another configuration which is optional is to change the name. It doesn’t need a name, but if you set it, it will show the name on the main screen and in the HTML title. To set this, go to Configuration -> Configure Other and set Device Name to whatever is meaningful to you. If you have a bunch of Tasmota devices, having the name listed on the top of the page can really help you ensure that you’re connected to the correct one. You can also name the individual outputs, and naming them now will make things easier in Home Assistant later (using the Tasmota integration).
For the outputs we are using for garage doors, we want the outputs to turn off automatically (so sending an ‘ON’ causes the output to turn on, wait a second, then turn back off). This can be done by setting the parameter PulseTimeX, where X is the relay number (and X can be omitted entirely for single-relay modules like the Shelly). From the main screen, click Console, and type in the following commands to change the values. In my case, I am using 3 relays for my 3 doors, so I only set the pulse timer for those 3 relays. Tasmota Documentation on PulseTime. The number changes meaning at different scales, for numbers less than 111, it means 0.1 seconds, so 15 equals 1.5 seconds.
PulseTime1 15
PulseTime2 15
PulseTime3 15
Tasmota should echo the new value of the setting in JSON, such as {"Pulsetime":15}
Finally, after setting up the Sonoff, add it using the Tasmota integration in Home Assistant. Rename the devices so they make sense, the usual Home Assistant stuff.
Template Cover⌗
Here’s the Template Cover I created for one of the garage doors.
First, make sure you have a covers section in your configuration.yaml:
cover: !include covers.yaml
Then I put my template covers in covers.yaml:
  - platform: template
    covers:
      garage_door_south:
        device_class: garage
        unique_id: 'garage_door_south'
        friendly_name: "Garage Door South"
        value_template: "{{ is_state('binary_sensor.garage_door_south_contact','on') }}"
        open_cover:
          - condition: state
            entity_id: binary_sensor.garage_door_south_contact
            state: "off"
          - service: switch.turn_on
            target:
              entity_id: switch.garage_door_opener_south
        close_cover:
          - condition: state
            entity_id: binary_sensor.garage_door_south_contact
            state: "on"
          - service: switch.turn_on
            target:
              entity_id: switch.garage_door_opener_south
        stop_cover:
          service: switch.turn_on
          target:
            entity_id: switch.garage_door_opener_south
        icon_template: >-
          {% if is_state('binary_sensor.garage_door_south','on') %}
            mdi:garage-open
          {% else %}
            mdi:garage
          {% endif %}
Project Files and Parts List⌗
Here are all of the files and parts required to replicate this project. Since this project has no custom parts, there are no files, just things you can buy and open source software.
- Tasmota software page
- Tasmota Sonoff 4CH PRO R3 configuration
- Tasmotizer flashing tool
- Aqara Door Switch (affiliate link)
- Sonoff 4CHPRO
- Shelly 1 (Single Door Option) Some links to products may be affiliate links, which may earn a commission for me.