Cheap PoE Fisheye Camera for 3D Printing
The quest for the best camera/angle for my 3D Printer⌗
My original plan was to use Octoprint with a USB camera (since that’s the cool thing to do, right?). I got a Logitech C270 USB webcam and was very underwhelmed by the image quality. I found that the field of view was just too narrow to get a good shot of the entire 3d print, especially if I was printing something big. I ended up mounting it to the back of a chair and moving it around.
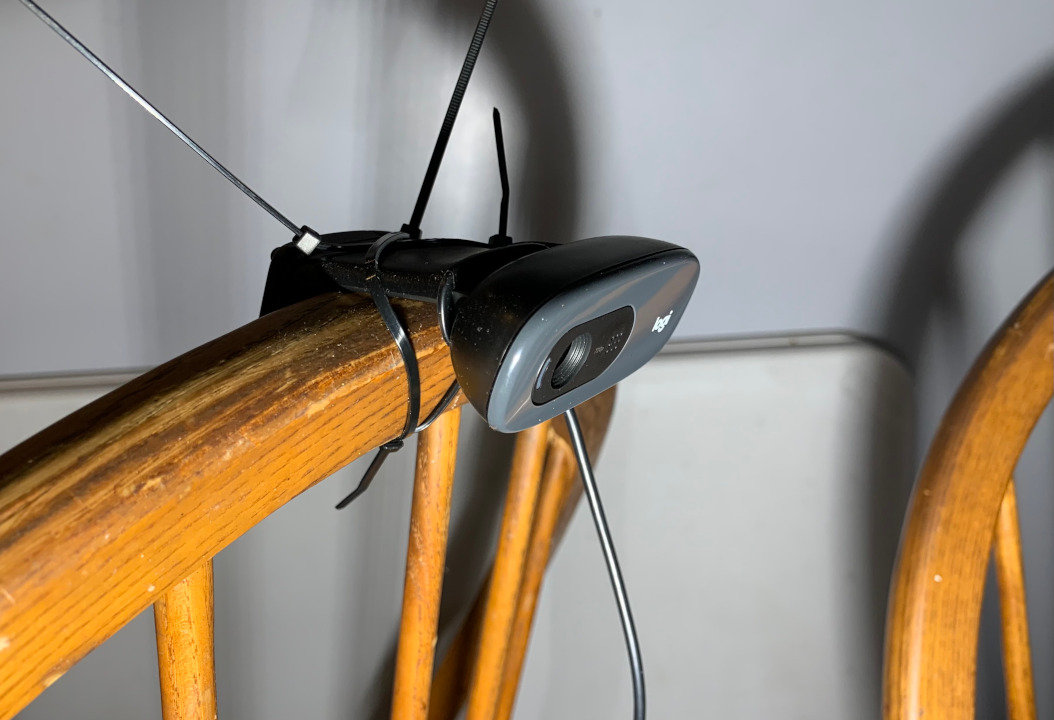
I connected it to my OctoPi (OctoPrint on a Raspberry Pi), and streamed it, and it functioned. I could watch it remotely. At this point, I was not using OctoPrint for the printer, since I was having printing troubles and was trying to minimize the number of variables. I would later find that the 3D Printer Box solved the printing issues, and am planning on building a new, evolved OctoPi setup in the future.
The New Camera⌗
I set the following goals for my next camera:
- Camera must have 120° or wider field of view for close mounting
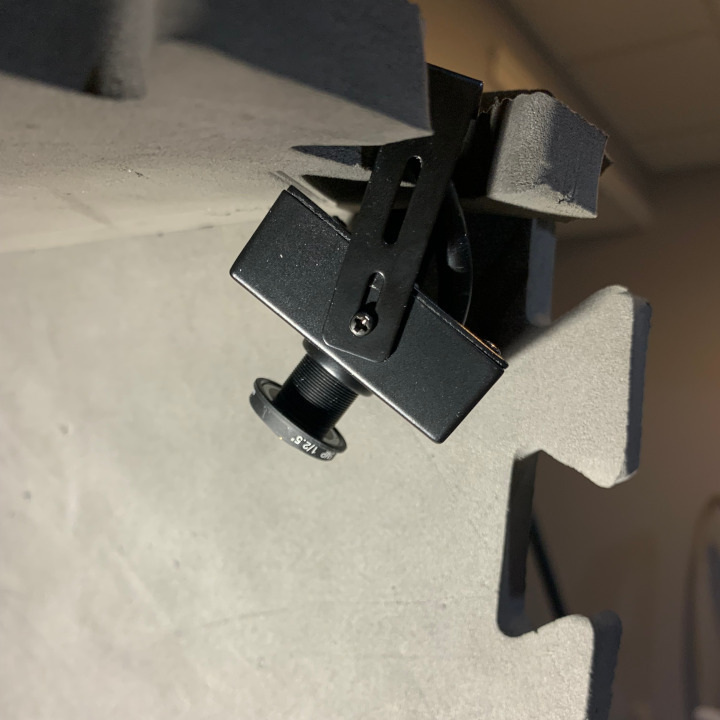
- Camera must be as small as posible to fit in the 3d printer enclosure
- Camera must be 1080p (or higher)
- Camera must be Ethernet based and support h.264 natively - I don’t want to rely on my Raspberry Pi for streaming, and Octoprint plugins always take a stream or image URL instead of a local camera anyway
From this set of requirements, since I prefer not to purchase from Amazon, I went to Aliexpress to search for a low cost camera. I ended up buying this (affiliate link):
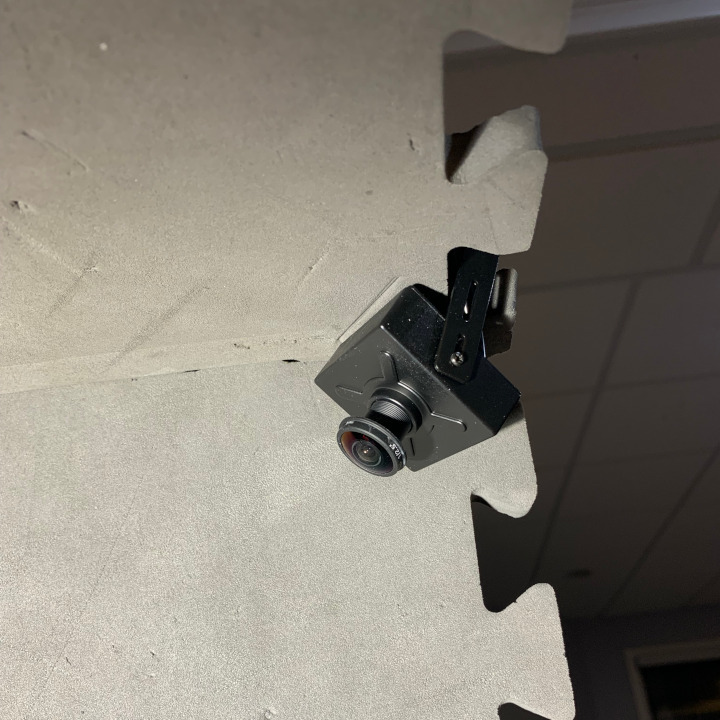
JIENUO 5MP Mini Panoramic Camera POE
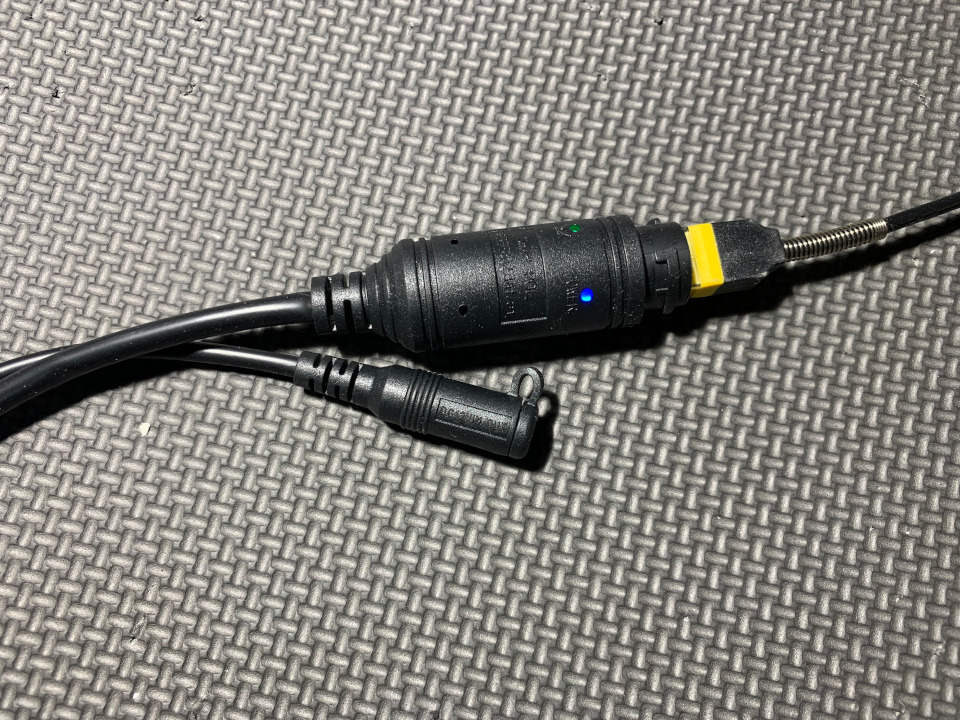
I obviously chose the PoE version, to reduce cable clutter around the printer, since I already use PoE extensively for IoT devices and cameras.
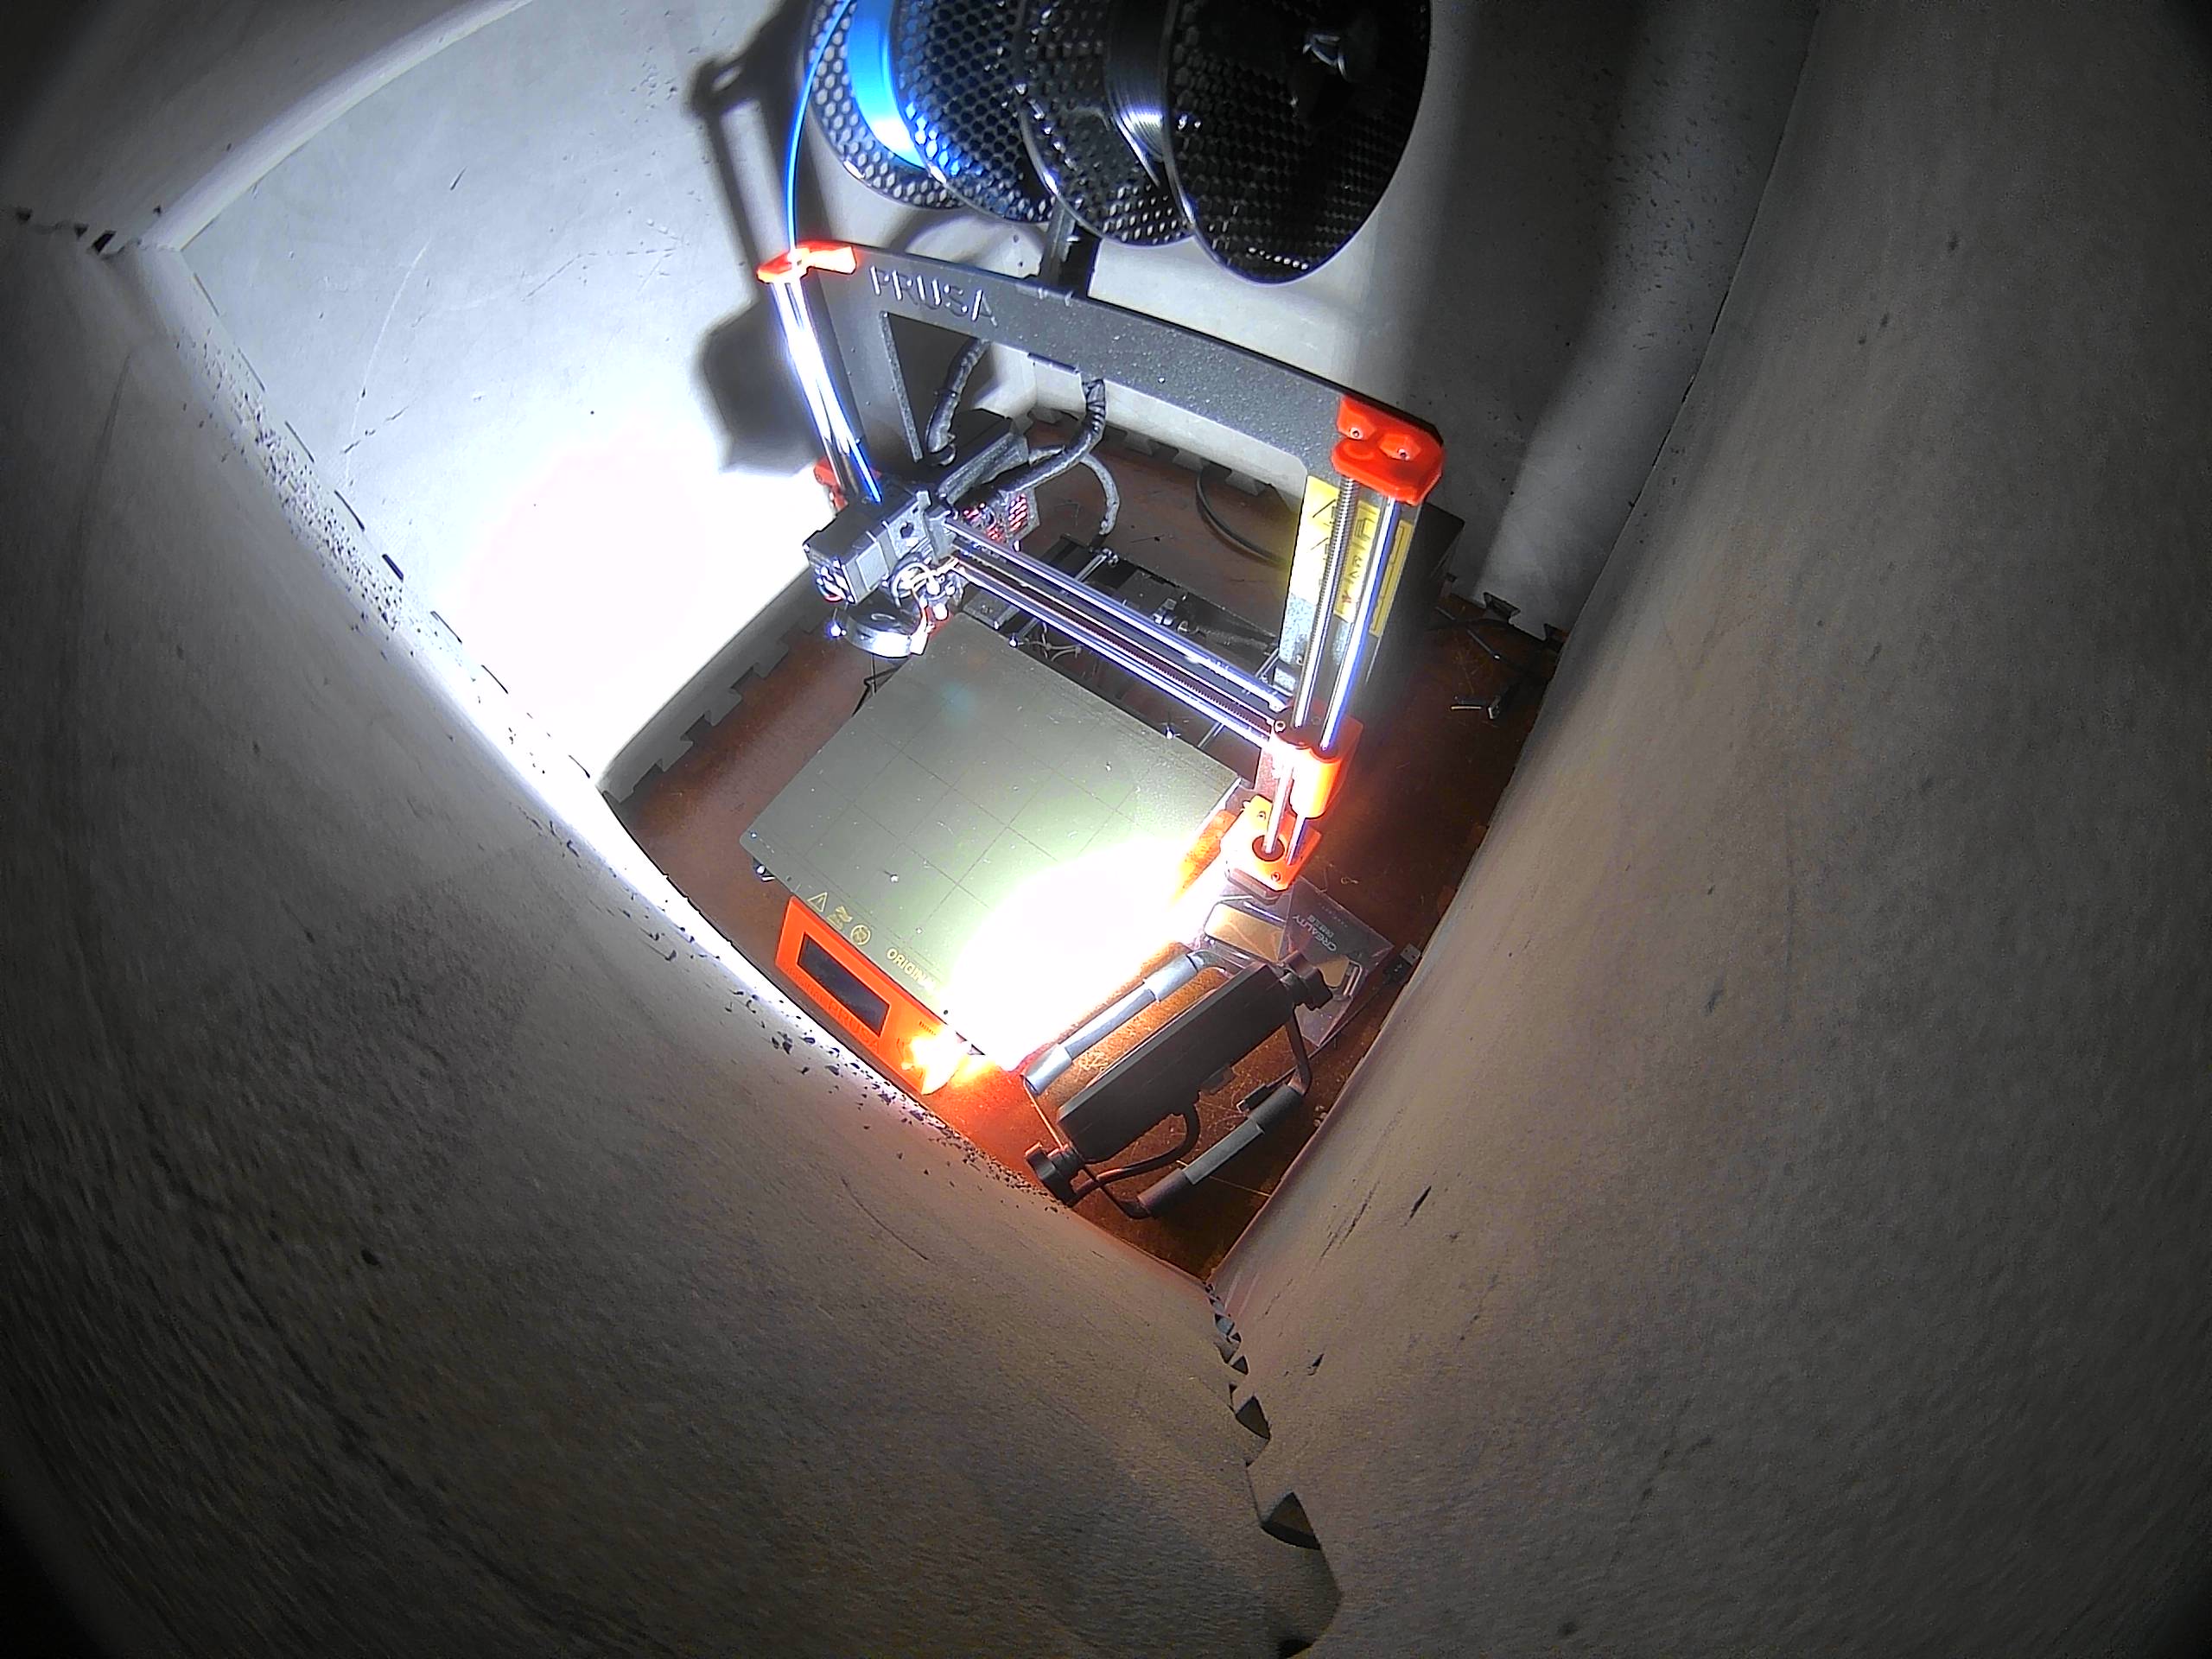
Testing the new camera⌗
I mounted the new camera on the foam tile printer box (see the 3D Printer Box backstory). I connected it to the network, configured it with the web UI, but couldn’t figure out what the stream and image URLs were from the minimal documentation. Thankfully, it is truly ONVIF compliant, so I used ONVIF Device Manager to figure out the stream URL.
tl;dr, here are the stream URLs you need:
-
For the main stream:
rtsp://user:password@<ip_address>:554/11 -
For the sub stream:
rtsp://user:password@<ip_address>:554/12 -
For the still image:
http://<ip_address>/tmpfs/auto.jpg
The Web UI uses HTML frames, but this is what one of the configuration frames looks like. Very basic HTML, but functional.
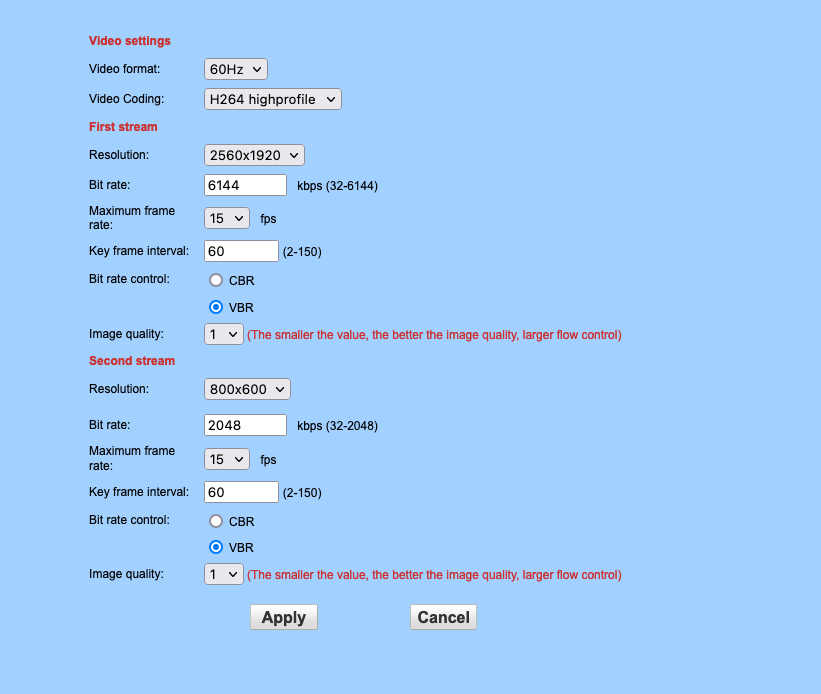
The main stream supports up to 2560x1920 and the sub stream supports up to 800x600. Both support up to 30fps, and either h.264 or h.265 (although both streams must use the same codec!). I chose h.264 over h.265 since most web browsers (except Safari) do not currently support h.264 natively, and compatibility without transcoding was important to me.
Home Assistant Config⌗
If you want to use this camera with Home Assistant, here’s a sample YAML section (goes under ‘camera’ section, or camera: !include camera.yaml)
# Fisheye 3D Printer Camera
- platform: generic
  name: "Printer Camera"
  still_image_url: 'http://10.0.0.1/tmpfs/auto.jpg?'
  stream_source: 'rtsp://admin:admin@10.0.0.1:554/11'
  #/12 is the low res stream
  username: 'admin'
  password: 'admin'