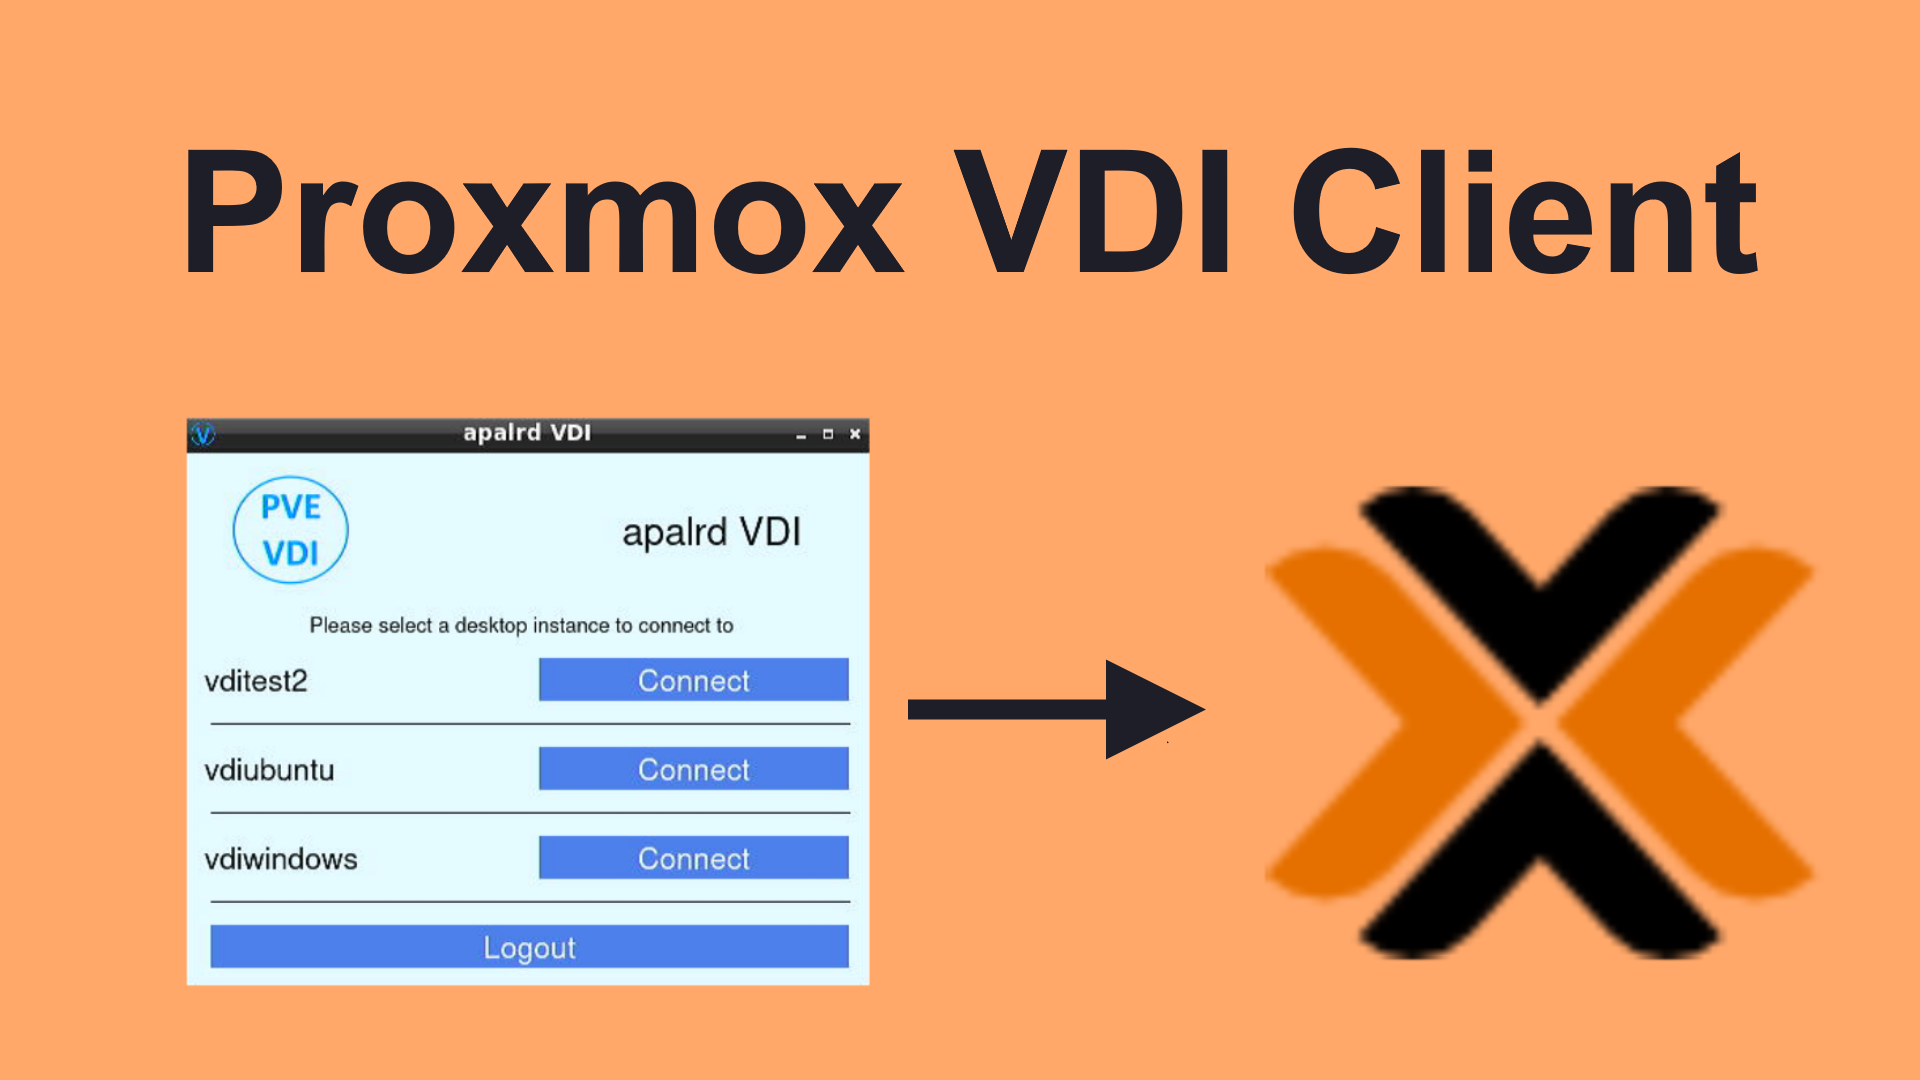
PVE-VDIClient - A Python Graphical VDI Client for Proxmox
For my last trick, I setup a multi-user thin client where each user account was connected to a specific virtual machine. This is great, but if you have a lot of thin clients you might not want to create a ton of VMs and might instead want each user in the system to have one or more VMs. Well, Josh Patten has written a Python-based GUI to select thin clients which you have access to, and today we are going to turn that into an appliance on both a Raspberry Pi and an actual x86 based Thin Client (running Debian).
This article is part of the Thin Client Series
This article was written with Raspberry Pi OS (32-bit) Bullseye release 2022-01-28 and Debian Bullseye release 11.2.0.
Sections⌗
This page is really long, so here are pointers to individual sections
- Video
- Setup for Raspberry Pi
- Setup for Debian
- Client Setup
- (Optional) Configuring VDI Client on Boot
- Getting your desktop back
- Conclusions
Video⌗
Of course, I have a video to go along with this topic. Click the thumbnail to watch it on Youtube.
Setup for Raspberry Pi⌗
I am starting with Raspberry Pi OS Bullseye (32-bit). I struggled with this for a bit before I realized that the Pi OS packages for Qt are just a mess, so we have to install some things through apt and some through pip to get what we want. Follow along below if you’d like, or copy and paste the whole thing.
#First up, as always, make sure the system is up to date before we even start:
sudo apt update && sudo apt upgrade -y

#Now, the dependencies we need via apt
#Pyside2 doesn't have pip packages for armv7, but apt does
#Pip won't find it though
sudo apt install python3-pip python3-pyside2* virt-viewer git -y

#And finally, the dependencies via pip
#This will install PySimpleGUIQt version 0.30.0, the last one wihch
#didn't require PySide2, since it won't find a PySide2 package for armv7
#But it'll also install all of the other deps that PySimpleGUIQt has
pip3 install proxmoxer PySimpleGUIQt

#Force Pip to upgrade to the latest verion even though it can't find PySide2 dep
#PySide2 was installed via apt, so it will find it at run time
pip3 install --upgrade PySimpleGuiQt==0.35.0 --no-deps

#Now we can clone Josh's repo and cd into it
git clone https://github.com/joshpatten/PVE-VDIClient.git
cd ./PVE-VDIClient

#Make it executable
chmod +x vdiclient.py
Now continue along to Client Setup!
Setup for Debian⌗
I am starting with Debian Bullseye on an x64 system. I installed Debian with desktop support using the LXDE desktop environment, so it’s as similar as possible to the Pi environment. During install it will ask you if you want a desktop, so deselect GNOME and select LXDE. I also selected SSH server here so I don’t have to install it myself later.
Everything installs and runs just fine on Debian, no quirks at all.
#First up, as always, make sure the system is up to date before we even start:
sudo apt update && sudo apt upgrade -y

#Now, the dependencies we need via apt:
sudo apt install python3-pip virt-viewer git -y

#And finally, the dependencies via pip
#On Debian pip will install PySide2 just fine if you're on x64
pip3 install proxmoxer PySimpleGUIQt

#Now we can clone Josh's repo and cd into it
git clone https://github.com/joshpatten/PVE-VDIClient.git
cd ./PVE-VDIClient

#Make it executable
chmod +x vdiclient.py
Client Setup⌗
Now we need a configuration file, which I’ll put in /etc/vdiclient to simplify things:
#Create the directory
sudo mkdir -p /etc/vdiclient

#Create the config file
sudo nano /etc/vdiclient/vdiclient.ini
And the contents:
[General]
title = apalrd VDI
icon=vdiicon.ico
logo=vdilogo.png
kiosk=false

[Authentication]
auth_backend=pve
auth_totp=false
tls_verify=false

[Hosts]
<Proxmox IP or DNS name> =8006
There’s a lot of fun you can have with configuration here, including picking a theme from PySimpleGUIQt’s theme set, choosing your own logo, and your own icon. Make sure you either copy the images to the path you call the script from (the user’s home directory later down in my example), or put them in /etc/vdiclient and use absolute paths in the ini file. Otherwise, the client won’t find the images.
Optionally if you want to share this between users, you can copy the files to system wide directories, although I did not do that for this appliance setup where there are no local other local users.
#Copy vdiclient.py to the local bin folder
sudo cp vdiclient.py /usr/local/bin/vdiclient
#(Optional) Copy images too, unless you're using your own
sudo cp vdiclient.png /etc/vdiclient/
sudo cp vdiicon.ico /etc/vdiclient/
(Optional) Configuring VDI Client on Boot⌗
Here we are going to modify our user so they launch into the VDI client on boot.
Basically, we are doing similar steps to the graphical thin client chooser except we are logging in to the user by default, so LXDE remains installed and we can get it back if we ever need to.
Before you do this on the Pi, setup your default audio device using the audio icon in the GUI. This should change the audio preferences for your.config which should make audio work correctly. On Debian it should pick the correct audio device by default.
First we are going to remove the system autostart file and replace it with a blank one, so LXDE doesn’t autostart itself:
For Debian:
#Go to directory
cd /etc/xdg/lxsession/LXDE
#Backup original
sudo mv autostart autostart.bak
#Create empty autostart file
sudo touch autostart
For Pi OS:
#Go to directory
cd /etc/xdg/lxsession/LXDE-pi
#Backup original
sudo mv autostart autostart.bak
#Create empty autostart file
sudo touch autostart
Next, we are going to create an autostart file in our user’s home directory, backing up and replacing any existing one For Debian:
#Make sure directory exists if it doesn't already
mkdir -p ~/.config/lxsession/LXDE
#Change to it
cd ~/.config/lxsession/LXDE
#Backup file if it exists (this may error if it doesn't exist, that's fine)
mv autostart autostart.bak
#Create new file
nano autostart
For Pi OS:
#Make sure directory exists if it doesn't already
mkdir -p ~/.config/lxsession/LXDE-pi
#Change to it
cd ~/.config/lxsession/LXDE-pi
#Backup file if it exists (this may error if it doesn't exist, that's fine)
mv autostart autostart.bak
#Create new file
nano autostart
The contents of that file:
@/usr/bin/bash /home/<user>/thinclient
And now we need to actually write that file (nano ~/thinclient):
#cd into the PVE-VDIClient directory so local paths to images work
cd ~/PVE-VDIClient
#Run loop for thin client so user can't close it
while true
do
    /usr/bin/python3 ~/PVE-VDIClient/vdiclient.py
done
At this point it automatically runs the VDI client when the user logs in, but we need it to log in the user by default.
For Raspberry Pi OS, run sudo raspi-config and select boot mode to Desktop Autologin, and that’s it. raspi-config handles the rest for you.
For Debian, we need to edit /etc/lightdm/lightdm.conf to enable autologin for our user. Find the line which has #autologin-user= and uncomment it, adding your own username (i.e. autologin-user=vdiuser).
Getting your desktop back⌗
If you make a terrible mistake and want your desktop back to debug it, just move the autostart files back and reboot:
For Debian:
cd ~/.config/lxsession/LXDE
mv autostart autostart.new
mv autostart.bak autostart
cd /etc/xdg/lxsession/LXDE
mv autostart autostart.new
mv autostart.bak autostart
For Pi OS:
cd ~/.config/lxsession/LXDE-pi
mv autostart autostart.new
mv autostart.bak autostart
cd /etc/xdg/lxsession/LXDE-pi
mv autostart autostart.new
mv autostart.bak autostart
And of course you can do the inverse (autostart -> .bak and .new -> autostart) once you’re done using the desktop
Conclusions⌗
I’m happy with the progress this project is making. We’re getting closer and closer to the goal of being able to dynamically spin up new VM clones as users request them, like a commercial VDI solution. This new python tool by Josh is a great step in that direction, and hopefully you are inspired to help him out by supporting it. Certainly more episodes on this subject from me are coming in the future!