Buying More Thin Clients for more ‘fun’?
After really enjoying my trio of Dell Wyse 5060 Thin Clients, I bought another cheap one to see how it compares, and hopefully to give advice to the many commenters. The 5060 was a great value for $35 but it’s hard to find at that price normally, while the 3040 is always available for that price, physically much smaller, and also worse on paper. It has a quad-core Intel CPU, 2G of RAM, and was advertised as having an 8G SSD but mine is actually 16G. It’s eMMC instead of SATA, soldered on board, and the RAM is soldered as well (the case is tiny!). I opened it up and replaced the power connector with a short USB cord instead of trying to buy a power cord.
tl;dr I was able to run Home Assistant on this easily, and I’d recommend it if you can’t get a Pi 4 (which is basically a given considering the lead times in 2022 are a year or more). This model is a step down from the 5060, but it’s still a good value for the price of the lowest Raspberry Pi models.
Teardown Video and USB Power Mod⌗
I made a video showing the hardware inside my thin client, if you’re interested in seeing the teardown, USB power mod, or watching the BIOS configuration. I also prove that Home Assistant does install easily. xClick the thumbnail below to watch it.
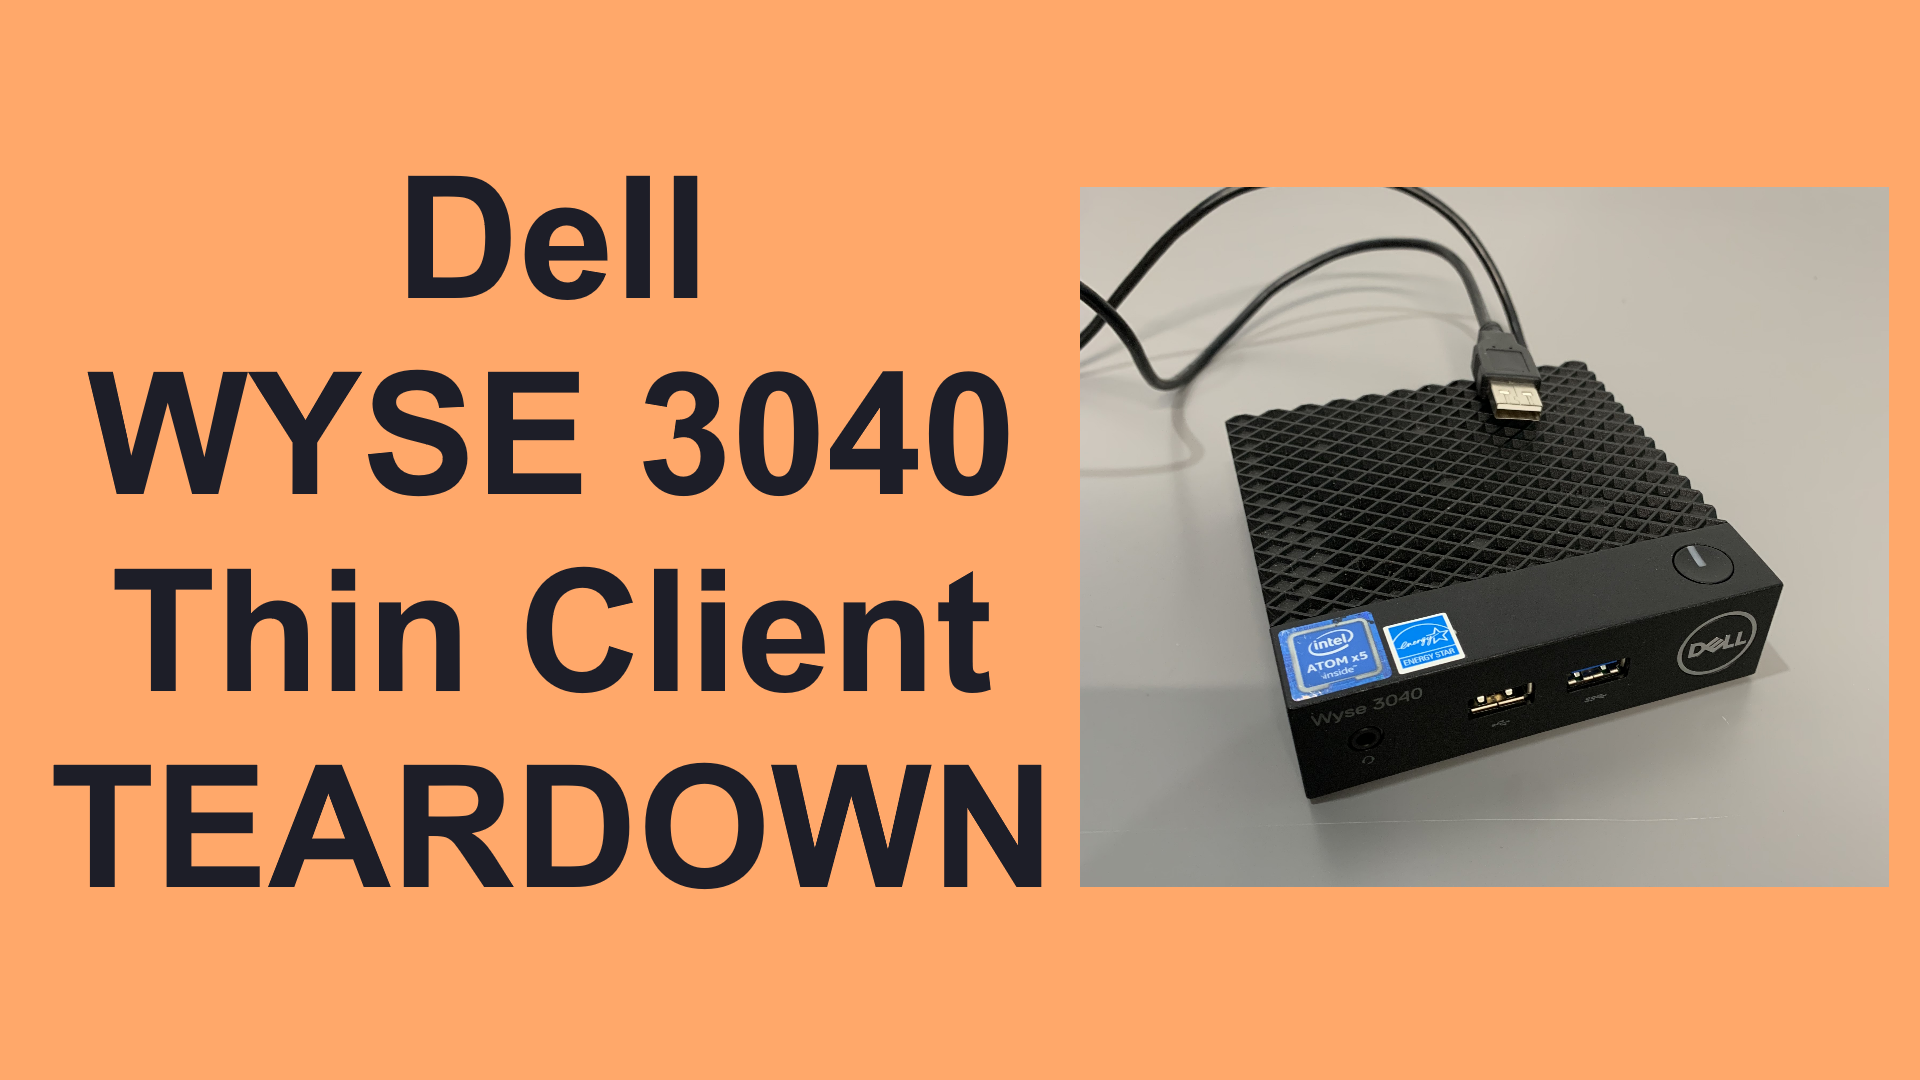
I also did a USB power mod to this, since it didn’t come with a power supply and needs 5V/3A. I initially got a 3’ USB cord and it functioned but it would occasionally reboot, especially under high CPU+GPU load. I cut the cord down to 18" to reduce the voltage drop along the cord and haven’t had any boot issues since then. It’s a cheap way to get this thing up and running, since USB bricks are really cheap.
How to Install your own Software⌗
The 3040 has a pretty terrible BIOS/UEFI. The revision I have does not support legacy boot at all, so you can only boot OSes that support UEFI. It also doesn’t support configuration of the boot file path, so the boot file must be in the fallback path. This usually means you need to configure GRUB for ‘removable media’ boot. Xubuntu and Home Assistant both did this by default, but Debian didn’t, so I had to boot back into rescue mode and re-install GRUB at the removable media path for it to boot correctly.
Hardware Info for the curious⌗
All of this was taken via an Xubuntu 20.04 Live CD, so your kernel may be configured slightly differently
lscpu⌗
Architecture:                    x86_64
CPU op-mode(s):                  32-bit, 64-bit
Byte Order:                      Little Endian
Address sizes:                   36 bits physical, 48 bits virtual
CPU(s):                          4
On-line CPU(s) list:             0-3
Thread(s) per core:              1
Core(s) per socket:              4
Socket(s):                       1
NUMA node(s):                    1
Vendor ID:                       GenuineIntel
CPU family:                      6
Model:                           76
Model name:                      Intel(R) Atom(TM) x5-Z8350  CPU @ 1.44GHz
Stepping:                        4
CPU MHz:                         534.804
CPU max MHz:                     1920.0000
CPU min MHz:                     480.0000
BogoMIPS:                        2880.00
Virtualization:                  VT-x
L1d cache:                       96 KiB
L1i cache:                       128 KiB
L2 cache:                        2 MiB
NUMA node0 CPU(s):               0-3
Vulnerability Itlb multihit:     Not affected
Vulnerability L1tf:              Not affected
Vulnerability Mds:               Mitigation; Clear CPU buffers; SMT disabled
Vulnerability Meltdown:          Mitigation; PTI
Vulnerability Spec store bypass: Not affected
Vulnerability Spectre v1:        Mitigation; usercopy/swapgs barriers and __user
                                  pointer sanitization
Vulnerability Spectre v2:        Mitigation; Full generic retpoline, IBPB condit
                                 ional, IBRS_FW, STIBP disabled, RSB filling
Vulnerability Srbds:             Not affected
Vulnerability Tsx async abort:   Not affected
Flags:                           fpu vme de pse tsc msr pae mce cx8 apic sep mtr
                                 r pge mca cmov pat pse36 clflush dts acpi mmx f
                                 xsr sse sse2 ss ht tm pbe syscall nx rdtscp lm
                                 constant_tsc arch_perfmon pebs bts rep_good nop
                                 l xtopology tsc_reliable nonstop_tsc cpuid aper
                                 fmperf tsc_known_freq pni pclmulqdq dtes64 moni
                                 tor ds_cpl vmx est tm2 ssse3 cx16 xtpr pdcm sse
                                 4_1 sse4_2 movbe popcnt tsc_deadline_timer aes
                                 rdrand lahf_lm 3dnowprefetch epb pti ibrs ibpb
                                 stibp tpr_shadow vnmi flexpriority ept vpid tsc
                                 _adjust smep erms dtherm ida arat md_clear
Of note, it does support VT-x if you want to do virtualization, and AES-NI if you want to do anything involving crypto offload (VPN, HTTPS, …)
lspci⌗
00:00.0 Host bridge: Intel Corporation Atom/Celeron/Pentium Processor x5-E8000/J3xxx/N3xxx Series SoC Transaction Register (rev 36)
00:02.0 VGA compatible controller: Intel Corporation Atom/Celeron/Pentium Processor x5-E8000/J3xxx/N3xxx Integrated Graphics Controller (rev 36)
00:0b.0 Signal processing controller: Intel Corporation Atom/Celeron/Pentium Processor x5-E8000/J3xxx/N3xxx Series Power Management Controller (rev 36)
00:11.0 SD Host controller: Intel Corporation Atom/Celeron/Pentium Processor x5-E8000/J3xxx/N3xxx Series SDIO Controller (rev 36)
00:14.0 USB controller: Intel Corporation Atom/Celeron/Pentium Processor x5-E8000/J3xxx/N3xxx Series USB xHCI Controller (rev 36)
00:1a.0 Encryption controller: Intel Corporation Atom/Celeron/Pentium Processor x5-E8000/J3xxx/N3xxx Series Trusted Execution Engine (rev 36)
00:1c.0 PCI bridge: Intel Corporation Atom/Celeron/Pentium Processor x5-E8000/J3xxx/N3xxx Series PCI Express Port #1 (rev 36)
00:1f.0 ISA bridge: Intel Corporation Atom/Celeron/Pentium Processor x5-E8000/J3xxx/N3xxx Series PCU (rev 36)
01:00.0 Ethernet controller: Realtek Semiconductor Co., Ltd. RTL8111/8168/8411 PCI Express Gigabit Ethernet Controller (rev 15)
As you can see, it uses a Realtek Ethernet Controller
vainfo⌗
libva info: VA-API version 1.7.0
libva info: Trying to open /usr/lib/x86_64-linux-gnu/dri/iHD_drv_video.so
libva info: Found init function __vaDriverInit_1_7
libva error: /usr/lib/x86_64-linux-gnu/dri/iHD_drv_video.so init failed
libva info: va_openDriver() returns 1
libva info: Trying to open /usr/lib/x86_64-linux-gnu/dri/i965_drv_video.so
libva info: Found init function __vaDriverInit_1_6
libva info: va_openDriver() returns 0
vainfo: VA-API version: 1.7 (libva 2.6.0)
vainfo: Driver version: Intel i965 driver for Intel(R) CherryView - 2.4.0
vainfo: Supported profile and entrypoints
      VAProfileMPEG2Simple            :	VAEntrypointVLD
      VAProfileMPEG2Simple            :	VAEntrypointEncSlice
      VAProfileMPEG2Main              :	VAEntrypointVLD
      VAProfileMPEG2Main              :	VAEntrypointEncSlice
      VAProfileH264ConstrainedBaseline:	VAEntrypointVLD
      VAProfileH264ConstrainedBaseline:	VAEntrypointEncSlice
      VAProfileH264Main               :	VAEntrypointVLD
      VAProfileH264Main               :	VAEntrypointEncSlice
      VAProfileH264High               :	VAEntrypointVLD
      VAProfileH264High               :	VAEntrypointEncSlice
      VAProfileH264MultiviewHigh      :	VAEntrypointVLD
      VAProfileH264MultiviewHigh      :	VAEntrypointEncSlice
      VAProfileH264StereoHigh         :	VAEntrypointVLD
      VAProfileH264StereoHigh         :	VAEntrypointEncSlice
      VAProfileVC1Simple              :	VAEntrypointVLD
      VAProfileVC1Main                :	VAEntrypointVLD
      VAProfileVC1Advanced            :	VAEntrypointVLD
      VAProfileNone                   :	VAEntrypointVideoProc
      VAProfileJPEGBaseline           :	VAEntrypointVLD
      VAProfileJPEGBaseline           :	VAEntrypointEncPicture
      VAProfileVP8Version0_3          :	VAEntrypointVLD
      VAProfileVP8Version0_3          :	VAEntrypointEncSlice
      VAProfileHEVCMain               :	VAEntrypointVLD
Hardware encode/decode is certainly usable for H264, although it’s not nearly as capable as the 5060 I reviewed previously