Sub-$100 Networked 433Mhz Receiver for Home Assistant
I previously wrote about my install of RTL-433 on a Raspberry Pi, running Raspberry Pi OS Buster. With the release of Bullseye, rtl-433 is now merged into the repository and doesn’t need to be compiled from source. So, I thought it would be a good time to revisit this project and make a video about it, this time using a cheap eBay thin client instead of a raspberry pi, and showcasing my setup a bit. As I’m using Home Assistant in my home automation system, anything that can publish to MQTT can be brought in, so buying fairly cheap off the shelf sensors which are rugged enough to survive for years outdoors is a great use case for me, even if there is virtually no security in the 433Mhz world. Overall, I was able to setup the receiver for under $100, which is pretty good as far as home automation products go.
Contents⌗
Video⌗
Click on the thumbnail to view the video on Youtube
Software Installation⌗
First off, I chose Debian 11 (Bullseye) since it’s a pretty familiar OS to a lot of Linux users, it’s very easy to setup, and includes rtl-433 in the package repository now. So, after setting installing Debian on my thin client, I just need to install rtl-433, right?
Well yes, we do need to install it:
sudo apt install rtl-433
But once it’s installed, it doesn’t configure and launch itself as a service like we want. We can try out rtl433 by running it using sudo to get a feel for what options we might want for our service install. In my case, I use most of the default options and specify an MQTT server as the output:
rtl_433 -C si -F "mqtt://<server>:1883,user=<user>,pass=<pass>"
And now we need to make a systemd script so it can launch on boot and use the service logging functions of systemd.
sudo touch /etc/systemd/system/rtl433.service
sudo chmod 664 etc/systemd/system/rtl433.service
sudo nano /etc/systemd/system/rtl433.service
And the file contents (obviously change your MQTT configuration):
[Unit]
Description=rtl_433 SDR Receiver Daemon
After=network-online.target

[Service]
ExecStart=/usr/bin/rtl_433 -C si -F "mqtt://<broker>:1883,user=<user>,pass=<pass>"
Restart=always

[Install]
WantedBy=multi-user.target
If you installed via package like me, it will be in /usr/bin/rtl_433. If you compile it from source for any reason, it will be in /usr/local/bin/rtl_433.
And that’s basically it. Tell systemd to reload daemons since we changed it’s service files, then enable / start the service.
sudo systemctl daemon-reload
sudo systemctl start rtl433
sudo systemctl enable rtl433
Home Assistant Configuration⌗
I’m using a relatively dated version of Home Assistant and I know there’s a lot of changes going on in the UI, but here’s what I have in my manual MQTT configuration:
# Outdoor temperature and humidity sensor (Acurite 609TXC)
- platform: mqtt
    name: "Outdoor Temperature"
    unique_id: "outdoor_temperature"
    state_topic: "rtl_433/zeus/devices/Acurite-609TXC/252/temperature_C"
    unit_of_measurement: "°C"
- platform: mqtt
    name: "Outdoor Humidity"
    unique_id: "outdoor_humidity"
    state_topic: "rtl_433/zeus/devices/Acurite-609TXC/252/humidity"
    unit_of_measurement: "%"
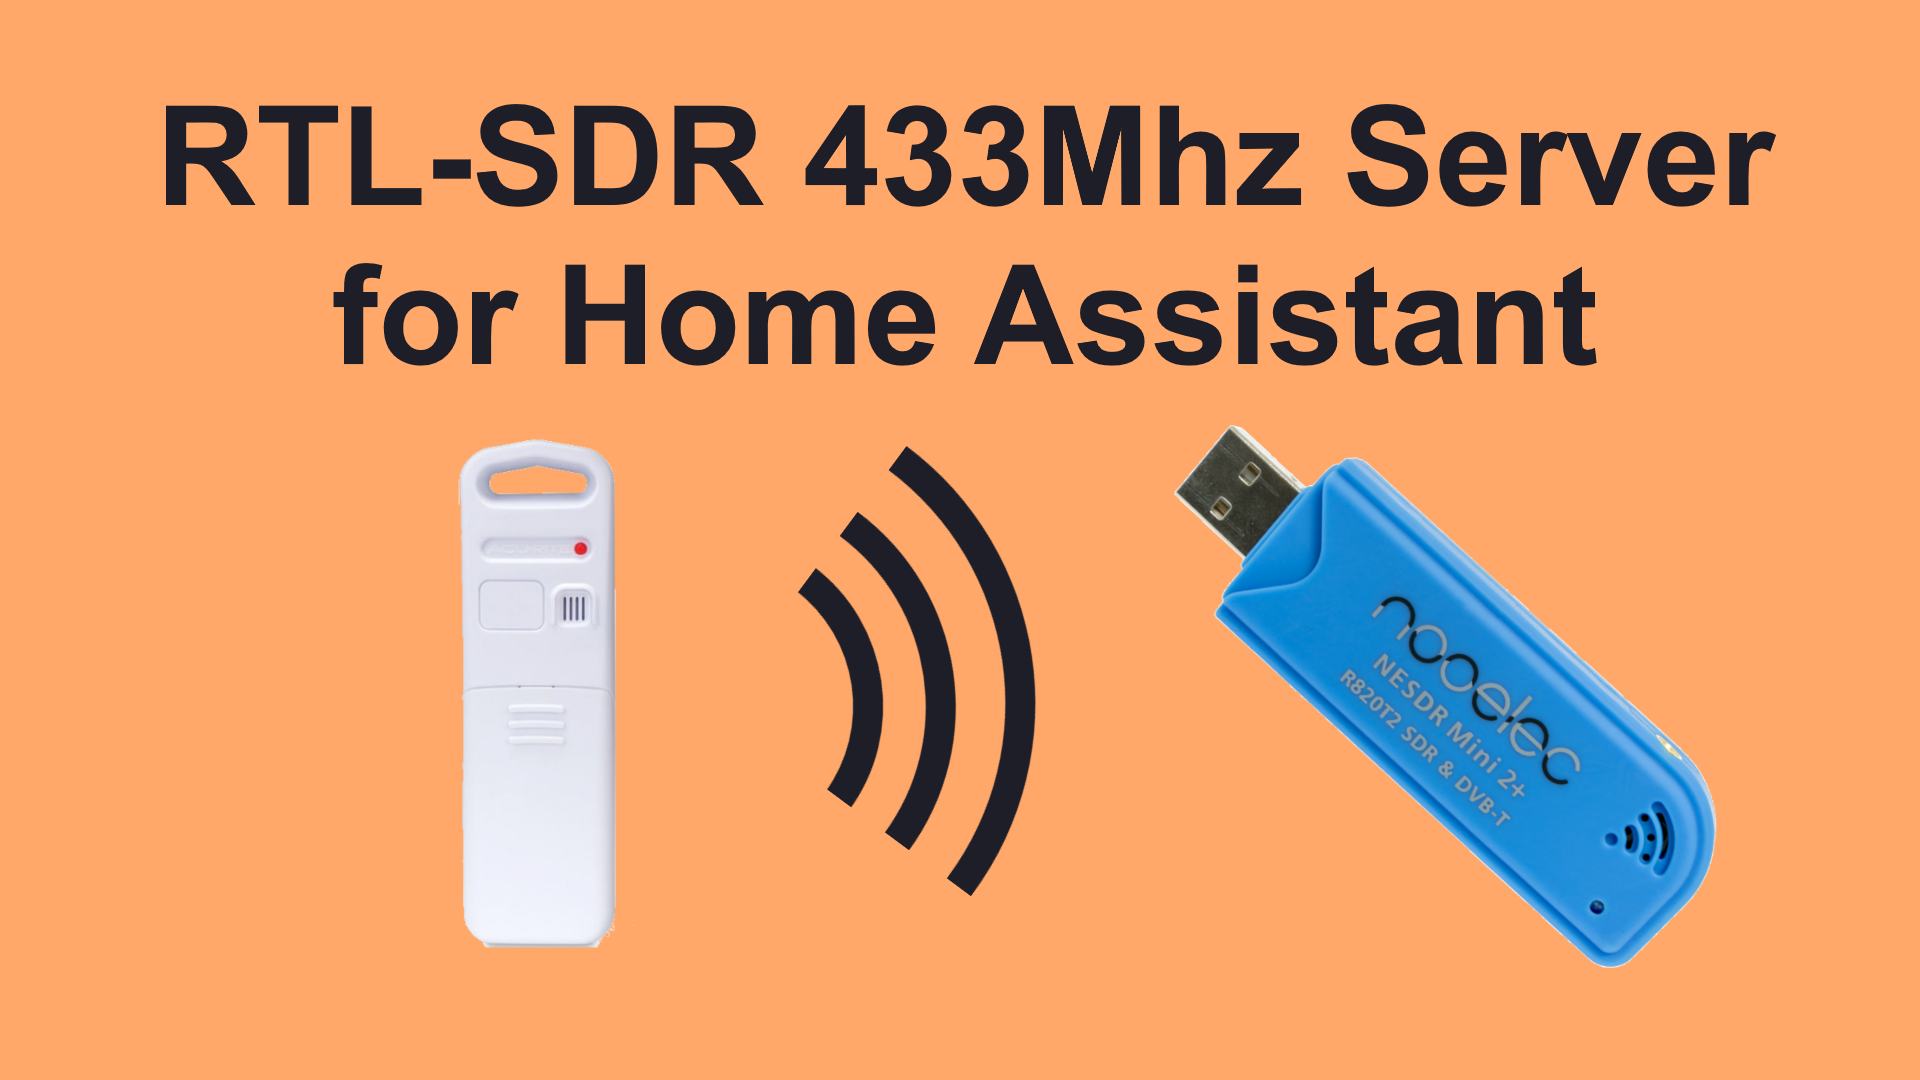
Parts and Software⌗
- RTL-433 Software
- Dell Wyse 3040 Thin Client From Ebay
- Nooelec NESDR Mini 2+ From Amazon or From Nooelec
- Acurite 609TXC replacement sensor From Amazon or From Accurite (choose option 2) Some links to products may be affiliate links, which may earn a commission for me.